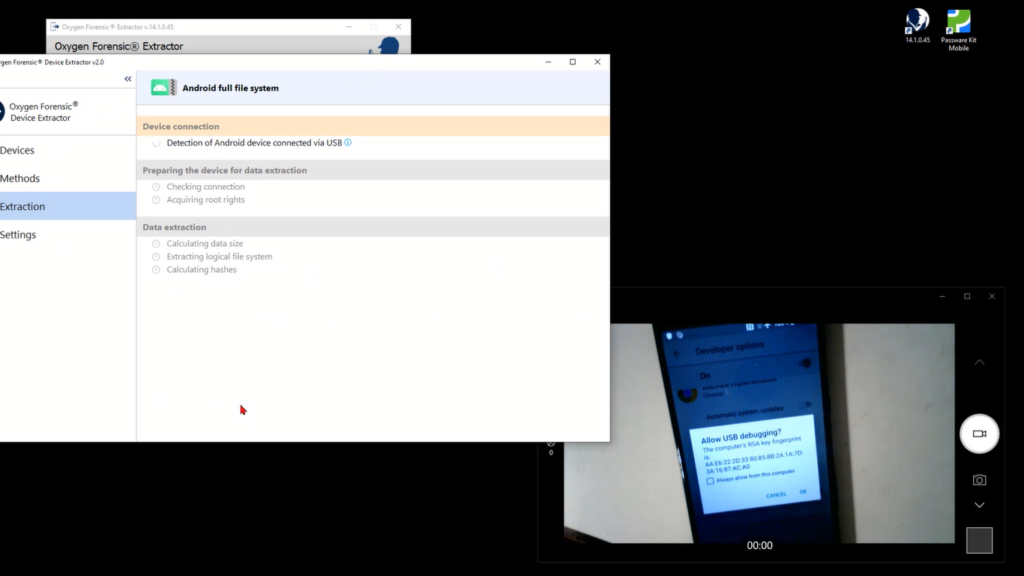
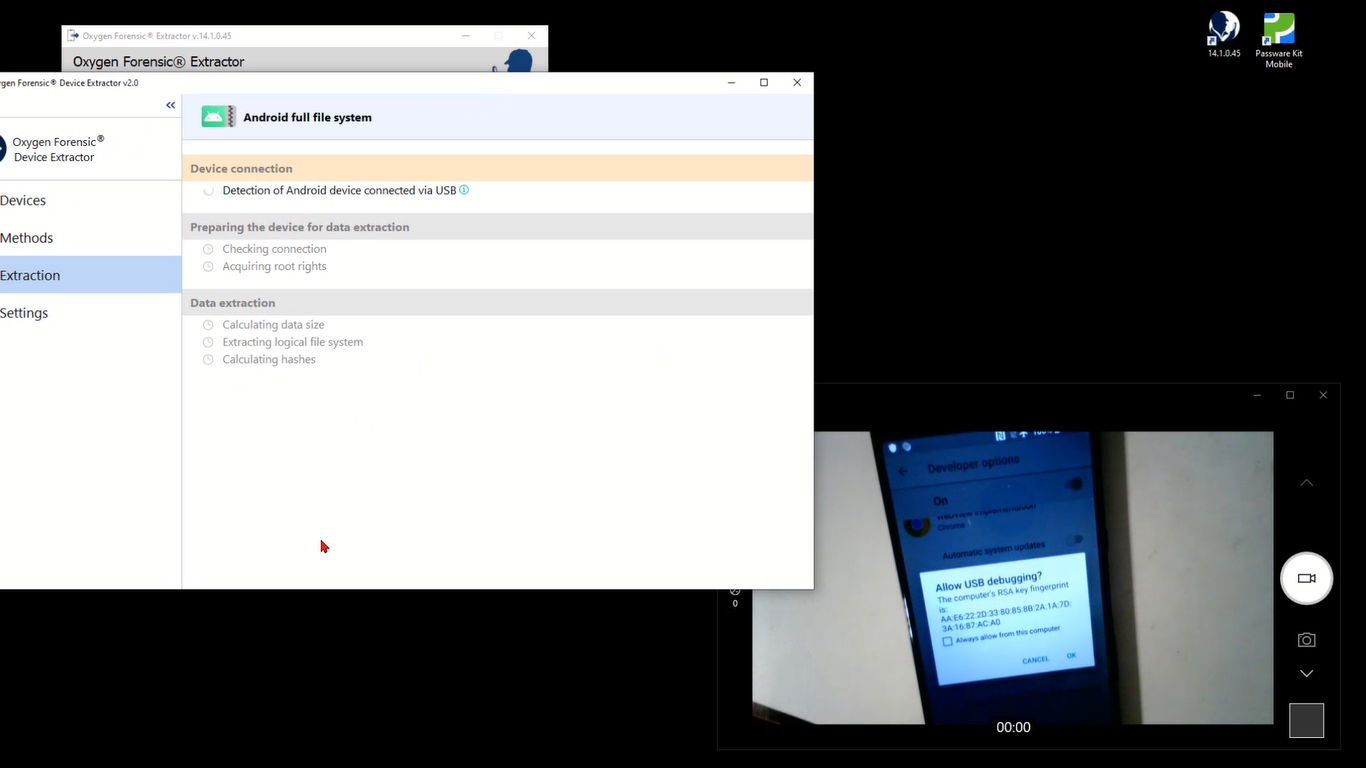
Hey everyone, Keith Lockhart here from Oxygen Forensics Training. This video is a short look at the Android file system extractor. This option here in our Android extraction section of our forensic extractor for our devices. So, I’ve got the extractor here and I’ve got a camera sitting here with one of my Sony Xperias that we’ll use to demonstrate this extraction. I’ll just go ahead and click on it and we’ll kind of read what’s going on here.
So, this is designed to extract data from the Android file system. Here are the list of vulnerabilities that can be exploited. So, this is a ‘the phone is unlocked’ situation where you have access to it, because we have to put it in Developer Mode, you know, enable USB debugging so the phone and the computer can kind of trade data the way we want.
But within that criteria are a set of common vulnerabilities that exist for different chip sets, different brands, different exploits. And this is the extractor that will try to apply those to the Android when you have it in that Developer Mode and get that file system data where it’s just maybe an agent extraction, who knows what we can or can’t get in the hierarchy of physical logical, you know, what you see is what you get, things like that.
So, this says to “Connect the device, put it in USB Debugging Mode.” If this mode is not displayed in the settings, put the device in Developer Mode. So, here’s a hyperlink, right? So anytime there’s a hyperlink, we can kind of see what’s going on behind the scenes there. If I look here, it says on some Android devices the Developer Menu may be hidden by default. To activate it, go to “Settings”, “About” click seven times on the “Build Number”.
So it’s kind of a standard thing in Android. You know, generally it’s somewhere in the “About Phone” section. So, let’s go figure out where it is on this phone and get this phone into Developer Mode the way we need. So, I’ll get rid of that, and we’ll come over to the camera, if I get this out of the way. Looks like I have to move two of them. There we go.
So, here’s the phone, I’ll just get that activated so we can see it. And I’m going to swipe down from the top and find the “Settings” gear. Kind of bright on that screen, but there’s the gear. I’ll tap that and I’ll get to this menu, which is, you know, why we’re here. Let me just hit “Display” and turn this down some more.

All right, I take that. So, we get into “Display” menu, and I’ll go back from there to where I can scroll the list here, and if I get down toward the bottom here’s a “System” option. And what it says is, “Language & input, Date & Time, Backup.” I’m going to start there and looking for my, oh, there we go. And things like there’s, “Language”, “Gestures”, you know, “Backup”, “Software updates”, “Reset”. I want “About Phone” and there’s our L3312 model.
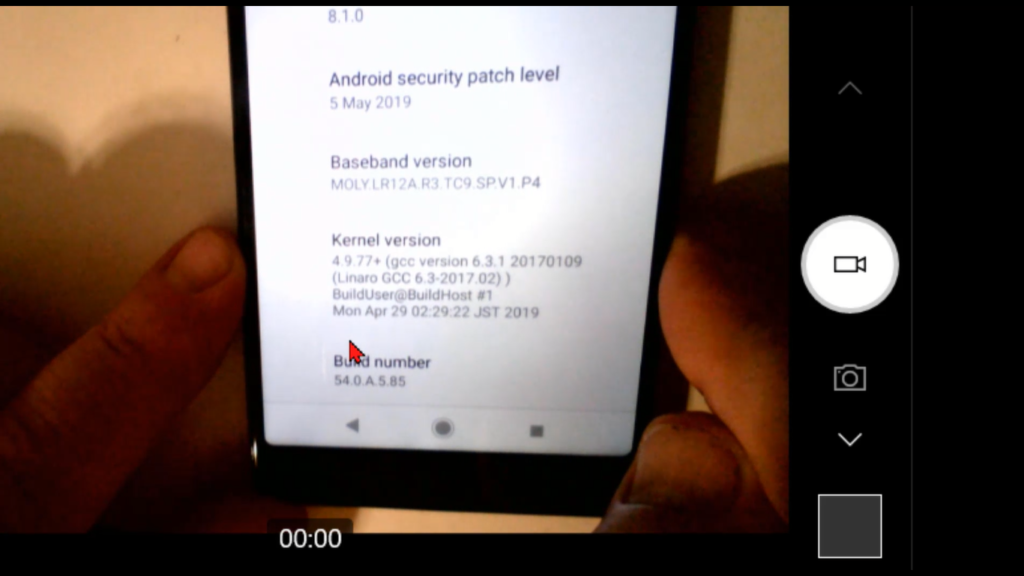
So, tap on “About Phone” and then I’m looking, for what I got, “Support status”, “Legal information”, “Certificates”, “Usage”, “Model”, “Android version”, “Security patch”. So, I scroll through, “Baseband”, “Kernel”, oh, “Build Number” right at the bottom. So, here’s the build number we talked about tapping. So, I’ll do one, two, three oh, and the phone says, “Listen, you’re about to be a developer”. Keep on tapping. Four, one step closer, five, six, seven, and then it says, “Hey, now you’re a developer!” Fantastic. And when that happens, then we have access to this thing called “Developer options”. And on this phone, I’m going to jump back one level.
And now, in my option world, I have “Developer options”. So, if I select those, then I can scroll down to this section called “USB debugging” on the “Debugging” section. And we want to make sure “USB debugging” is turned on, not off, but turned on. And it says, hey, listen, you know, allowing this, it’s intended for development purposes only. Use it to copy files or data between your computer and your device, installed apps and whatever.
And that’s fine. That’s what we kind of, we want to open that floodgate so the device and the computer can talk back and forth better. I’ll tap “OK” to that. And you know, there could be things like, not the worst is a big troubleshooting module, but they’re going to be things like, oh, the USB port was only set to charge, so you have to turn on “Data Transfer”. or, you know, maybe phone modem was engaged, and it overrode the USB debugging Mode or something like that. There could be some other troubleshooting things, but by and large, we need to get into Developer Mode to activate USB debugging and then we should be good. What I’ll do is hook up the phone. And what it will want to do then is a key exchange with the computer, in the later operating system worlds of Android to make sure everything is secure.
So, I’ve got a USB-C cable here and I’ll plug it into the bottom, and we should see on the screen, “Hey, allow USB debugging?” The computer’s RSA key fingerprint is:” and I’m going to say “Yes” to that or tap “OK” to that. And the USB, luckily enough for us, it’s set to “Charge this device”. So that’s kind of a perfect example of what I was just talking about. So, I’m going to come down and select “Transfer files”. Okay, and then you see on the screen that my computer now recognizes the Xperia L3, and again, a key exchange is wanted, and I’ll tap “OK” to that. So, at that point we should be in the condition we need to be in to elicit or perform this exploit.

Okay, so I’ll come up here, and now that we’ve satisfied that mode, it’s says “During the route access attempted vice may become in unstable. It must stay on locked during this process. Disable auto-locking and make sure Android drivers are installed, the modem is turned off, you’re on airplane mode, you’re fully charged” and things like that. So, I’ll go ahead and, barring any location changes where I’m going to extract to, I’m going to go ahead and extract the full file system. So, one more debug tap there, and the device recognizes the Sony Xperia L3312, and I’ll start the extraction.
So, at this stage, the connection has been established with the device and there are a couple of vulnerabilities, actually that are available here. It just so happens the tool’s going to pick the path of least resistance and take the first one. “Any Android device on MediaTek arm64 chip, that hasn’t been patched with the March 2020 patch or later.” So that’s the one that fits this device. That’s fine. I’ll go ahead and exploit the vulnerability using the button to start things. And again, you know, your mileage may vary depending on what the exploit is, what things have to be done to the device.
And the tool goes ahead and throws out a couple of disclaimers. “Hey, listen, if nothing freezes or reboots, this might not be the one.” Maybe you try a new cable, maybe you restart the device, maybe you try that second exploit. Instead of the path of least resistance, take the one that’s a little bit more. In this case that first one works, the extraction size is calculated and off it goes. So, I’ll go ahead and fast forward our video to get us to the end of this process. But we see what we need to do to get this done.
Okay. So, our extraction is just about to wrap up at about 95% or so. And when that’s done, a hash will be calculated for the extracted data, and then you’re off to the races. It’s just importing your data into Detector for analysis, or, I don’t know, give it to somebody else or whatever you want to do with it, but we’ve successfully completed a file extraction of our Sony Xperia. Okay. I hope that helped shed a little light on the Android file system extraction from Device Extractor. Thanks for watching. And as I always say, keep on learning.


