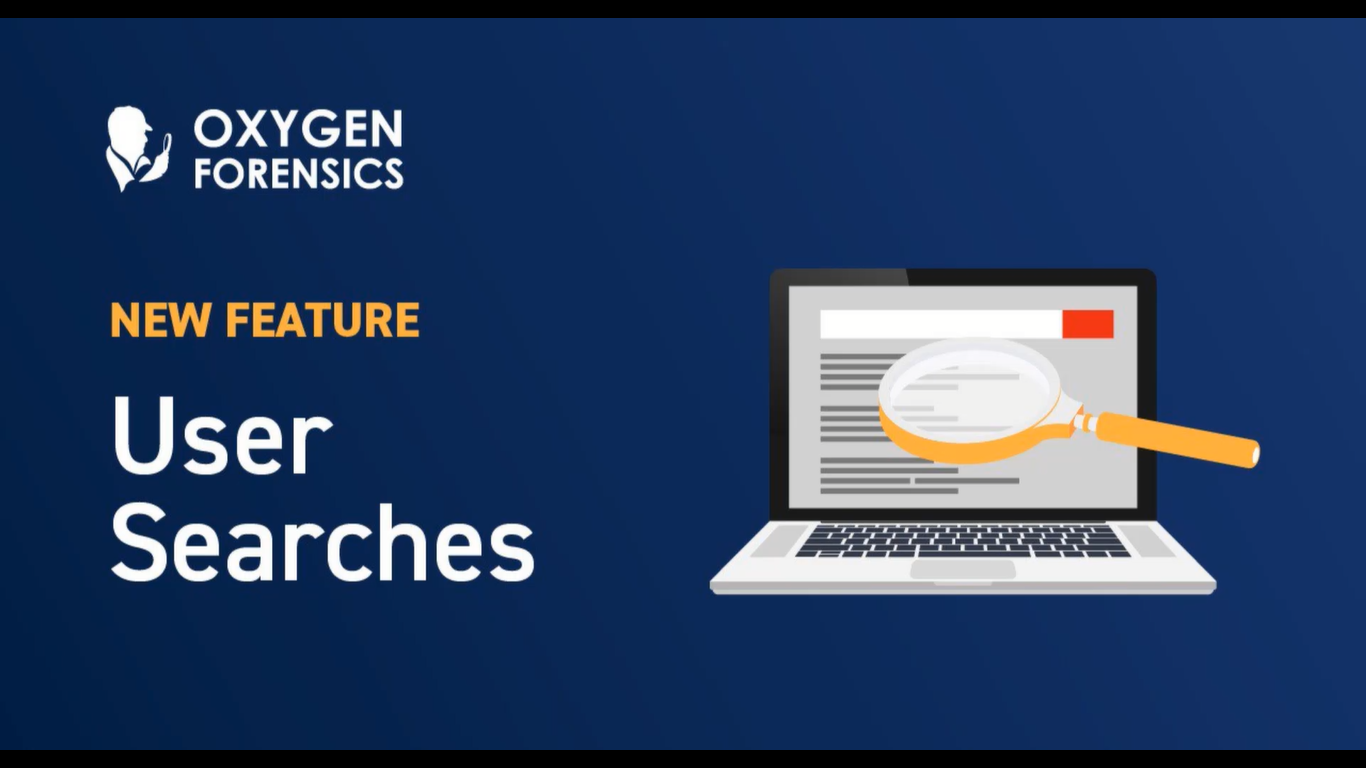
Amanda Mahan: Hey, welcome back to another Oxygen Forensic webinar. This is Amanda Mahan from the Oxygen Forensic training team. In this video, we’re going to go over the brand new section: user searches.
So starting here on the home screen, we are going to navigate to our case list and into our case. And you see that inside of this case, I have two Android extractions. Now, inside of these extractions under the general sections is where you’ll find the user searches feature.
So let’s go into the first one. I have this Sony Xperia extraction. This is information about the extraction itself or the statistics or the owner information, device information, and if you go down underneath that box, you see ‘general sections’.
Inside of the general sections is where you’ll find this new feature. Now, what you can expect to find in this section is an aggregation of all user requests or searches or queries from all applications that have been installed on this device and are actively being used, which we then collect and put right inside of this section for you to review.
Now, this will capture, this will pull out and parse even those queries that do not have timestamps attached to them, which will be the case with this first example here. So I’m going to go ahead and navigate to the section ‘user searches’. Inside of this section, you’ll see, in the first column, which is the column all the way to the left, all sources from which this data was pulled.
In the second column, which is column two in the center of your screen, it’s going to give you the details about the type, the source, and what the query was, and if it was deleted. And the third column will be unique information about whatever you’ve chosen in column two. So you can see that if I come down to this Twitch query that we can see was not deleted, you can see the details about this in the third column.
Now, what we can do at this point is navigate straight to that section, straight to the source, which let’s go ahead and do that. I’m going to choose Twitch and you see, it takes me directly to the Twitch account information where I can find account search history and anything that has been cached inside of that database.
Now I’m going to navigate back to the user sections. In the third column, you can add items as key evidence, you can add tags, and you can even place a note right inside of that specific entry. In the second column, we can see if things are deleted, we can see what type of query it is or how we captured this data. We see that it was a search and you can see what the query is, as well.
So if we are concerned, if you look in the upper right hand section of column two, with a specific term, we can start to type that term and it will populate any of that text that it found in column two.
All right, below the records, you’ll see you have a ‘duplicates’ section, which you may run into when you see a lot of deleted queries. And then below that we have our time filter, our activity matrix, and our activity chart. Now in our time filter, we have no data.
Now, remember, I said that we will pull the data from the application database, even though there may not be a timestamp attached. And then these two particular sources, there were no timestamps either recovered, because it’s deleted data and that data is now not recoverable, or it’s just not recorded in that specific type of database.
All right, so let’s move on to another extraction that does have a timestamp. So I’m going to go into this Samsung extraction, go under my general sections and go into my user searches. You can see this one looks a little different because we were able to capture those timestamps. We were even able to recover the timestamps with the deleted data here.
In the first column, you can see that we have three sources; which will be Google, Google Chrome, Google photos, anywhere you have a carrot dropdown menu you’ll have options under there. And remember this first column is a filtering column. So if I only want to see my Google Chrome searches I can navigate or filter to that source.
And in the second column, you will see the results of that filter. Now, the third column, again, unique information about whatever I’ve chosen in column two.
Now I’m going to go ahead and reset my filters so I can review all of my data, and I don’t need the duplicates pane here, there are no duplicates, so I’m going to get rid of it by clicking the exit.
And down at the bottom, you see our extra filters and charts. We have our time filter, which if you click on the time here, instead of using the slide bar below, you can use the calendar, which may make it a lot easier, apply it that way, and above you’ll see that we’ve filtered to that specific date.
Now I’m going to reset this and then look at our activity matrix. Not a lot of timestamps on here, but enough to see that the most used or the most active search date and time or day and hour combination would be Wednesday at 5:00 AM. Now, if you wanted to filter to just Wednesday at 5:00 AM to see exactly what’s going on, you can double-click this and it will filter to just Wednesday at 5:00 AM. All right, I’m going to come up and reset my filters here.
And last, I want to show you how easy it is to navigate into the database, just from the user searches section. So again, we know that our third column is unique information about the details that we see right in front of us in the center grid here.
Now let’s say that I am concerned with this search result, and I want to see details about this. I can go over to my third column and look at the source that it’s being pulled from and see the rest of the information, including file names and what the search query is. And if I choose to navigate to the source, it will then open the source page.
And I am still on that one entry that I’m concerned with. Now, let’s navigate to the database. Now, I haven’t done anything except navigate from the user searches area here in the third column into the Google Photos, which is this tab, and I’m going to keep following this right until I get into the database that this information was parsed from.
So again, we go straight to the third column. I’m going to go into that source file, into that database where this information was found. So I’m going to choose this.
And now we are in our SQL viewer. We can go through this and see if there’s any other unique information that may be of concern to us.
For more information about Oxygen Forensic Detective, or any of our training classes, please contact us.