Hi, I’m Rich Frawley and I’m the Digital Forensic Specialist with ADF Solutions. Today we are going to conduct a boot scan of a MacBook Air that has APFS and FileVault 2 enabled.
At this point you have decided on a search profile or profiles to use and and prepared your collection key.
When conducting a boot scan, Digital Evidence Investigator is forensically sound. This means that no changes are made to the target media.
Prior to conducting a boot scan, establish how many USB ports are available and determine if the four-port USB hub is required. Two ports are required in order to complete a scan: one for the collection key and one for the authentication key. Once the scan has started, the authentication key can be removed.
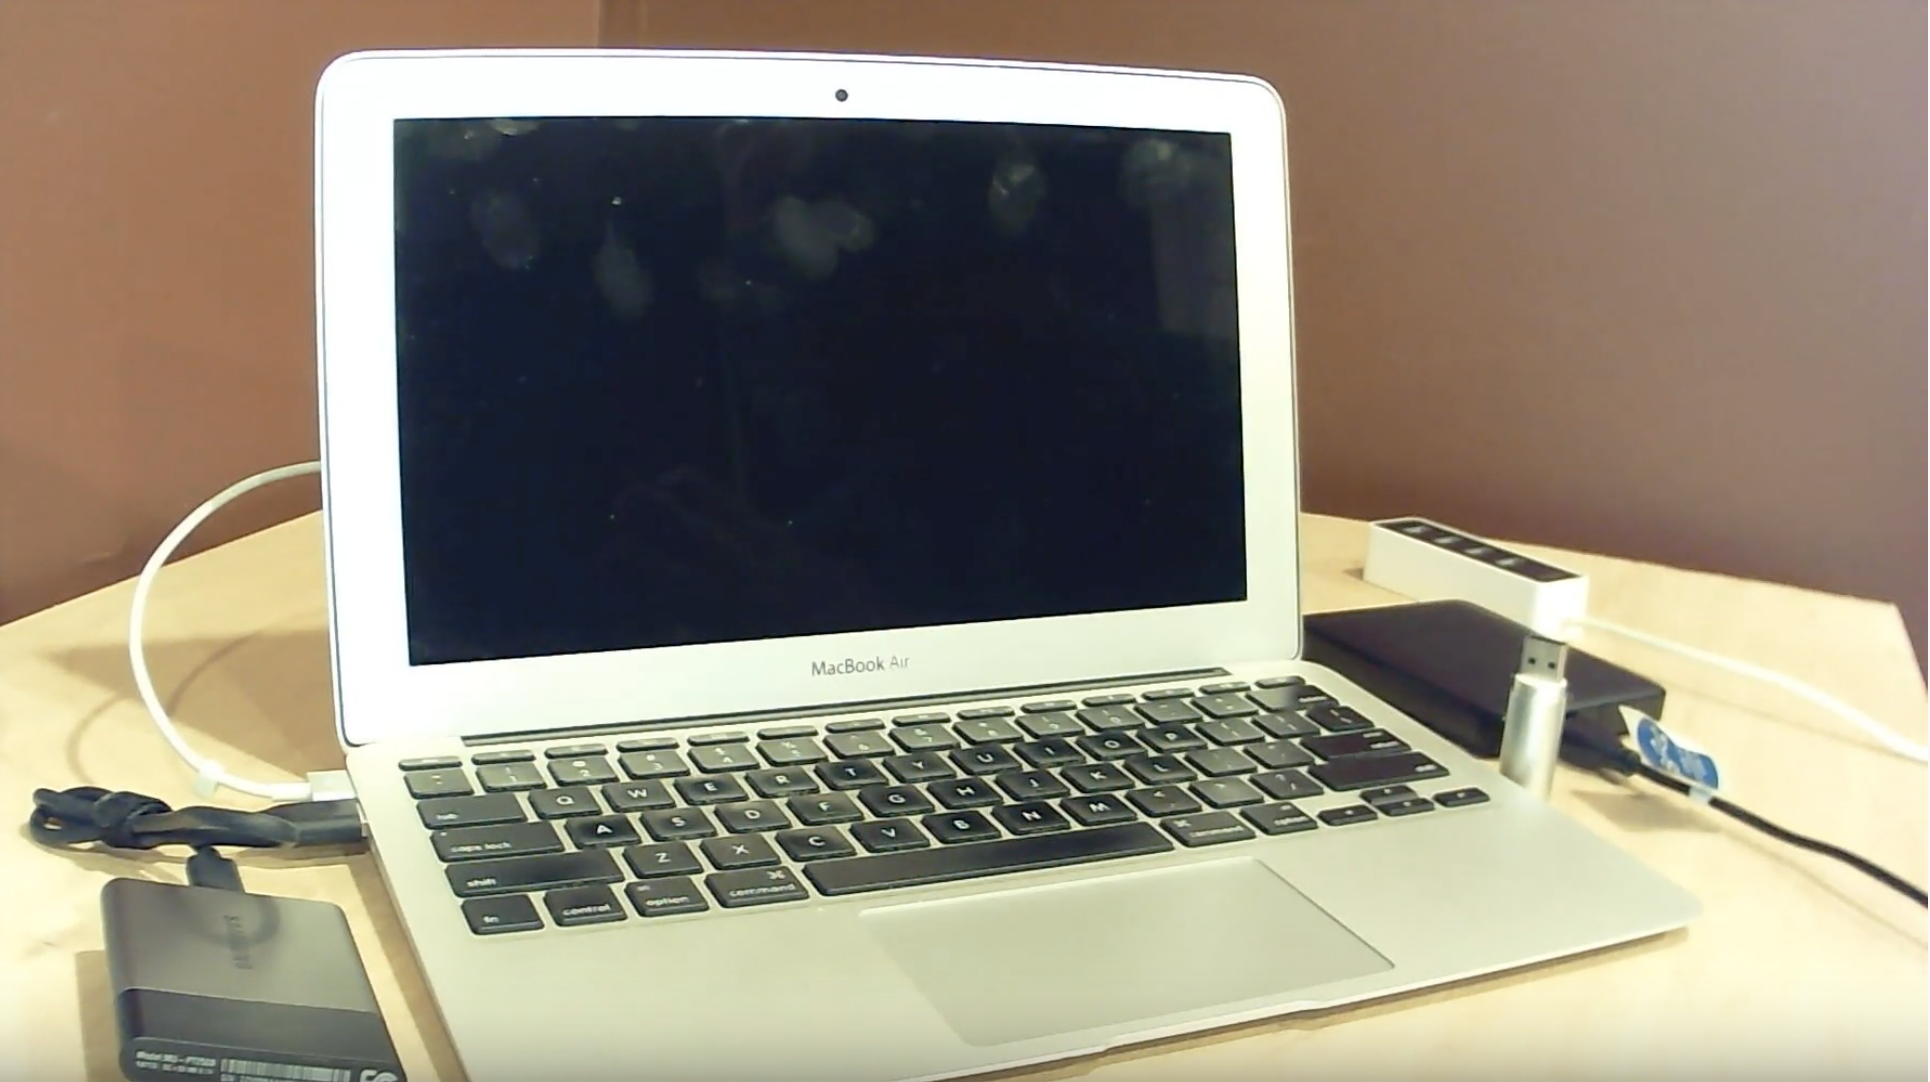
As you can see here, I have my collection key inserted; I have my authentication key ready to go; I have my four-port hub; and I also have an external drive, should I want to image this when the scan is complete.
With the MacBook Air, in order to boot to the USB device we will hold the Option key after pushing and releasing the Power button. You can see I have three devices available to me: I have the System drive and my USB device, which is broken down into a Windows boot and an EFI boot; either will work.
When booting to the collection key, Digital Evidence Investigator will automatically launch the application to scan the computer. No user input is normally required within the Windows boot manager.
Once DEI has launched, there are two options available: ‘Scan Computer’ and ‘Image Computer.’ To proceed with the boot scan, click on ‘Scan Computer.’
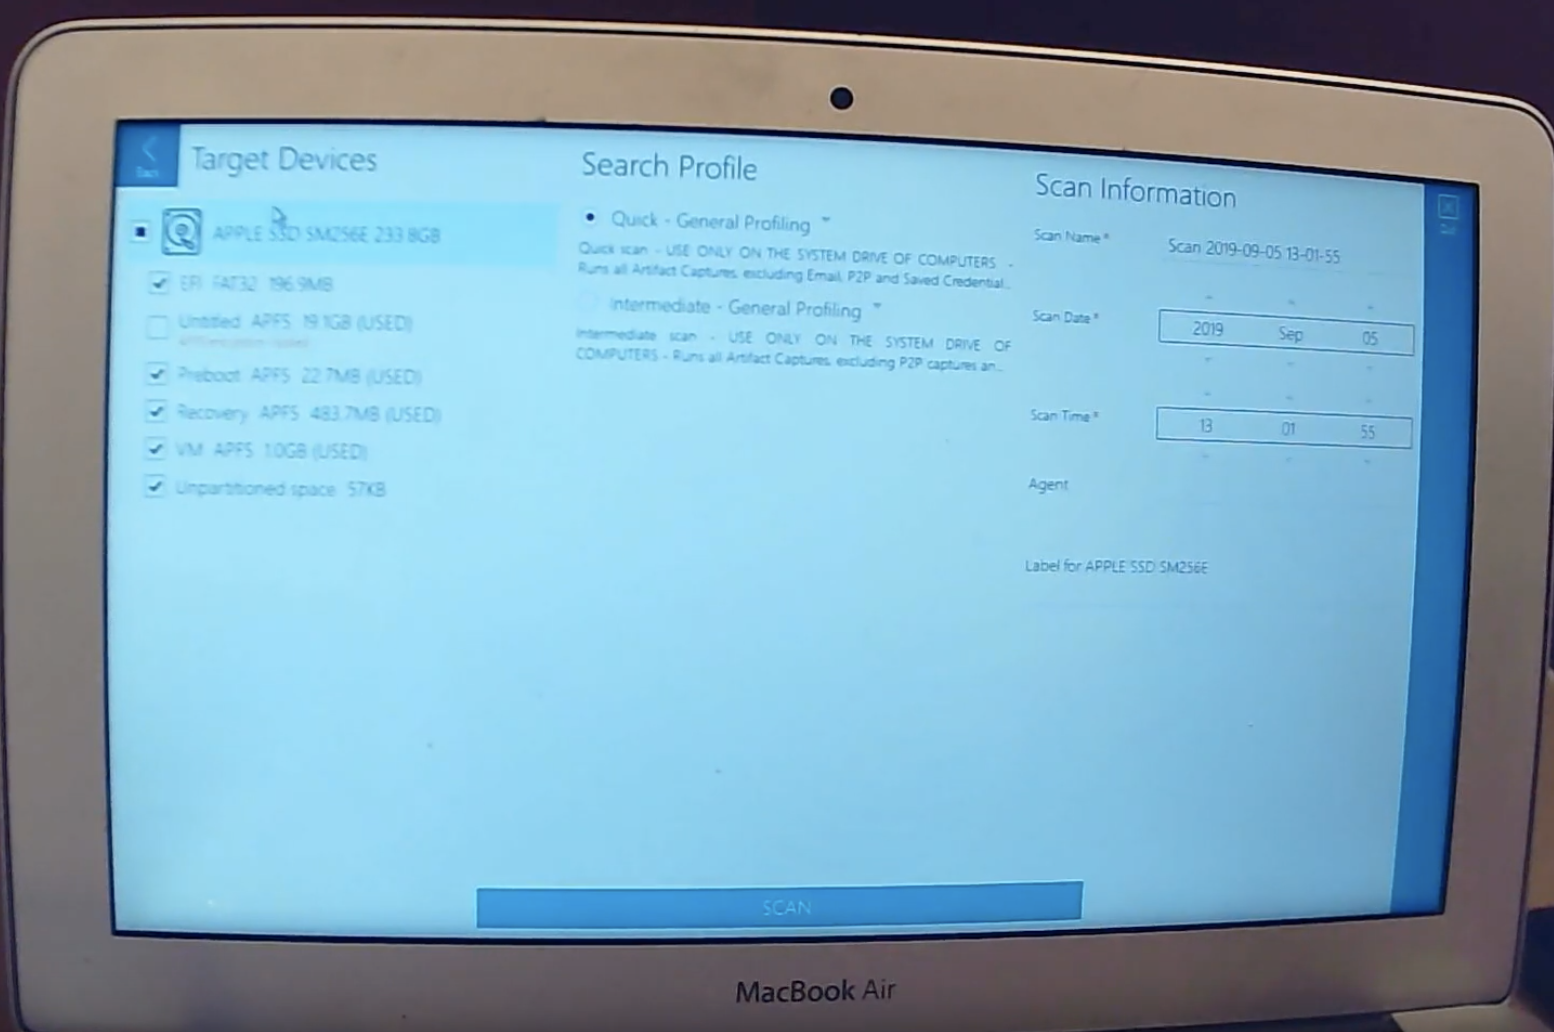
You can see my target devices: the physical drive up on top, partitions below; and I have my APFS partition, which is encrypted.
If I select this partition it gives me the option to unlock the partition; here’s where I would enter my password or recovery key, and select ‘OK.’ And now my drive is unlocked and ready to scan.
I select my search profile, give it a name, and select ‘Scan.’
You see it’s asking for the license. I can place in the authentication key. Once the authentication key is recognised, the scan will commence and you can remove that authentication key and now move on to another computer with another collection key and the authentication key.
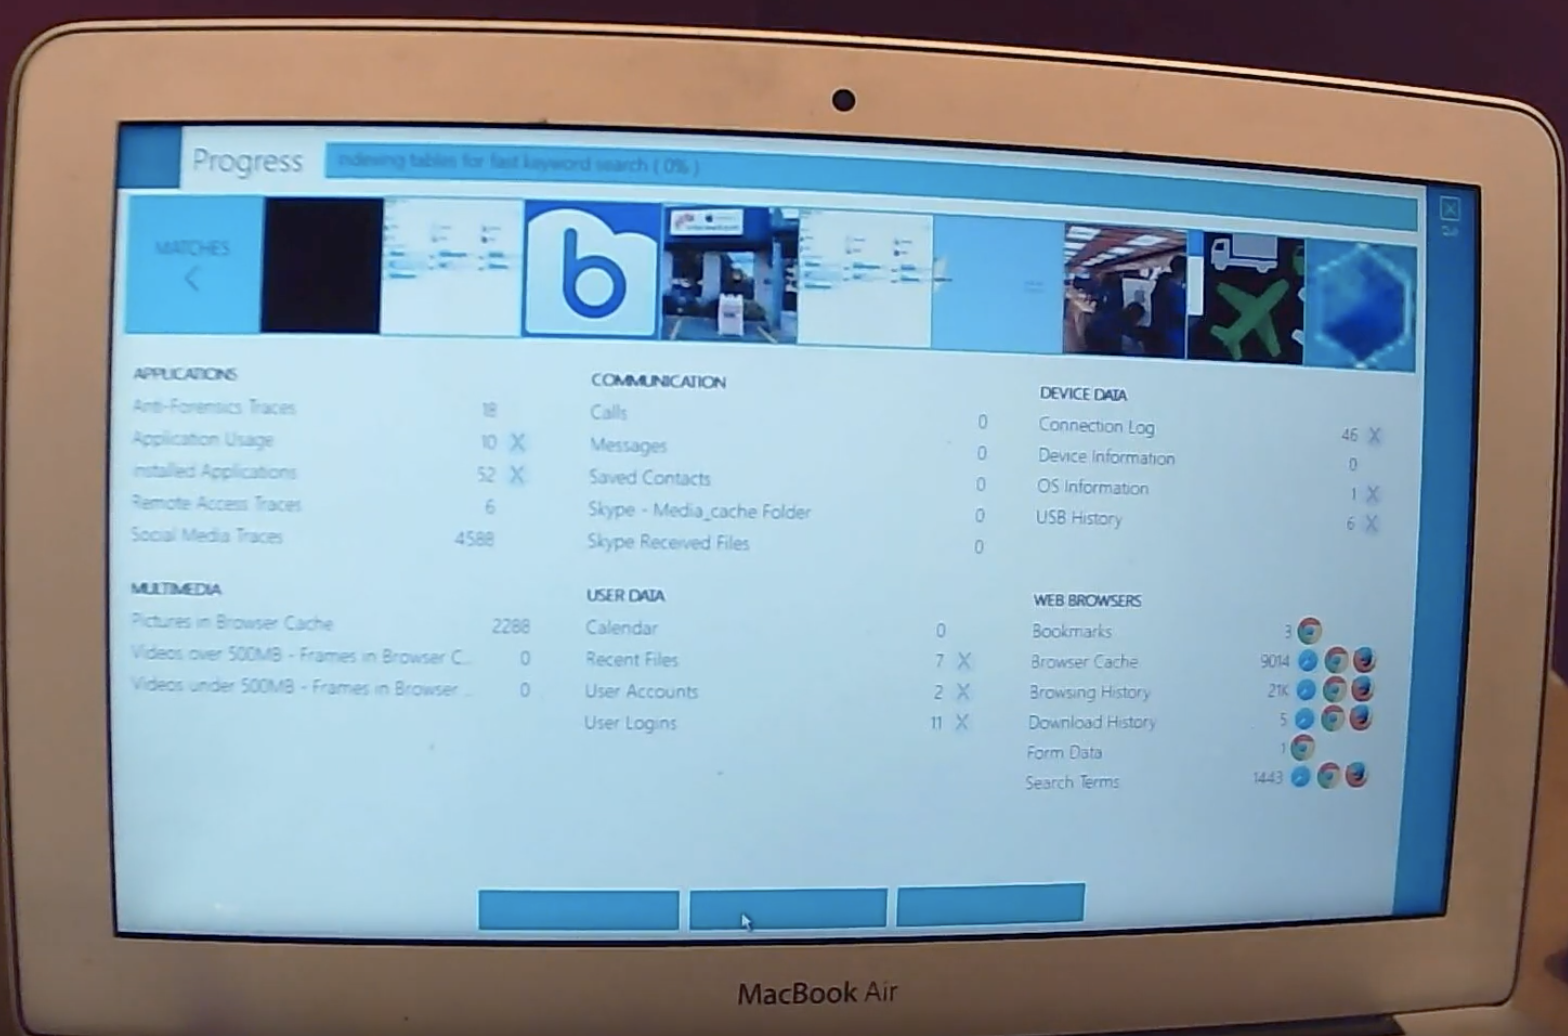
Now that the scan has completed, I select ‘OK,’ and I’m given the option to go in to view my results, or to image the drive.
If I select ‘Image’ it gives me the physical drive to image here, and then I connect my external drive that I’m going to save my forensic image to.
Now you can see my source is the internal SSD drive; my destination is the drive I just plugged in; the image name; the format I want to save it to; and then I have some fields that I can fill out down here, pertaining to my specific needs. I can verify the image after it has been completed, and then select ‘Image’ to commence.
That’s all for this video; thank you for your time.
Request a free trial at TryADF.com.


