Today I’m going to show you how to do a bulk tagging operation using Nuix Investigate 8.2.1.
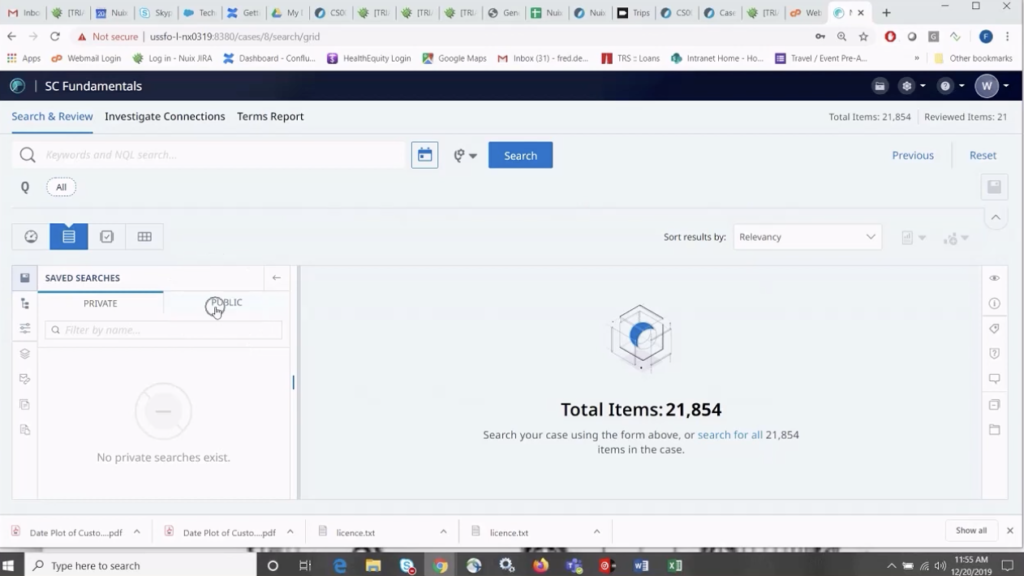
Here on the far left side – you can see we’re on our Cases landing page – we’re going to scroll down the list and select one of our cases here to launch this.
When we do that, here on the left-hand side, we’re going to utilise a feature here called ‘Saved Searches.’ When we expand this out, and we go under ‘Public,’ we can retrieve one of our saved searches here.

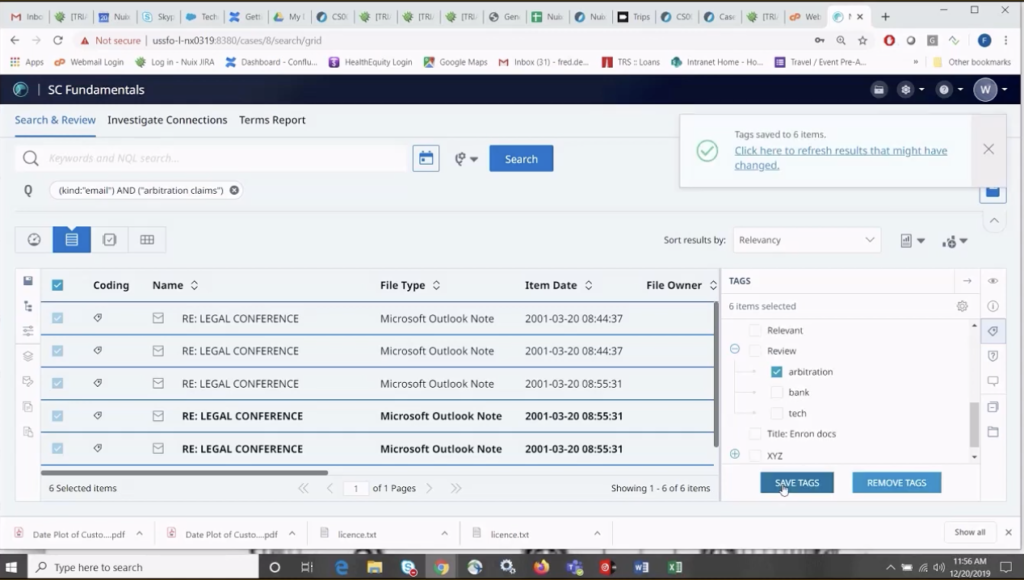
This will return items that are emails, and have the term ‘Arbitration claim’ in the content of those emails. And now in the grid, we can see those items have been returned.
We’re going to go ahead and bulk select these items in the grid view by selecting this check box, and now these items are ready to be tagged.
We’re going to move over here to the right. And here is the Tags icon. We can expand this out, and now we can scroll down and choose a tag that we want to apply to these items.

We know our parent tag is ‘Review’ and underneath this is ‘Arbitration.’ This is the subtag that we want to apply. We’re going to go ahead and select that, and then hit ‘Save Tags.’ We’ll get confirmation that the list tags have been applied. I’m going to go ahead and close this.
I’m going to hit ‘Reset’ on this window, and now I can show you how easy it is to retrieve those items that we just tagged, by moving back over here to the far left. We’re going to choose ‘Search Filters’, we’re going to scroll down in the list and expand tags. And then we’re going to scroll down in this list and retrieve the tag that we just applied to these items.
We know our parent item is ‘Review’. We’ll expand this out. Here’s ‘Arbitration,’ we’ll select that, we’ll put that in the search queue. We’ll go ahead and hit ‘Search’ here, and that will retrieve those items into the grid that we just tagged.
To find out more, go to www.nuix.com.


