In this video, we’re going to discuss how to use the ‘Search’ function to help you quickly locate files of interest within your case. Analyze DI allows users to search for not only text-based information, but also visual clues as well. Adding visual clues into your workflows can really improve efficiency and help you get to the files you’re interested in even faster.
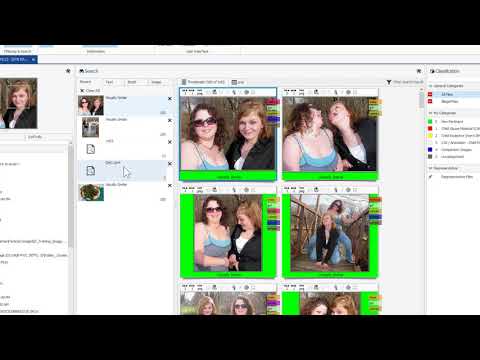
Let’s look at the search view, where you can review all of your search results. The search view is automatically open when you perform your first search. It can also be toggled on or off from the View tab on the ribbon. This panel looks similar to the Thumbnail view, but is actually a custom thumbnail and grid view just for your search results. Search results can also be quick filtered, just like your main case data can.
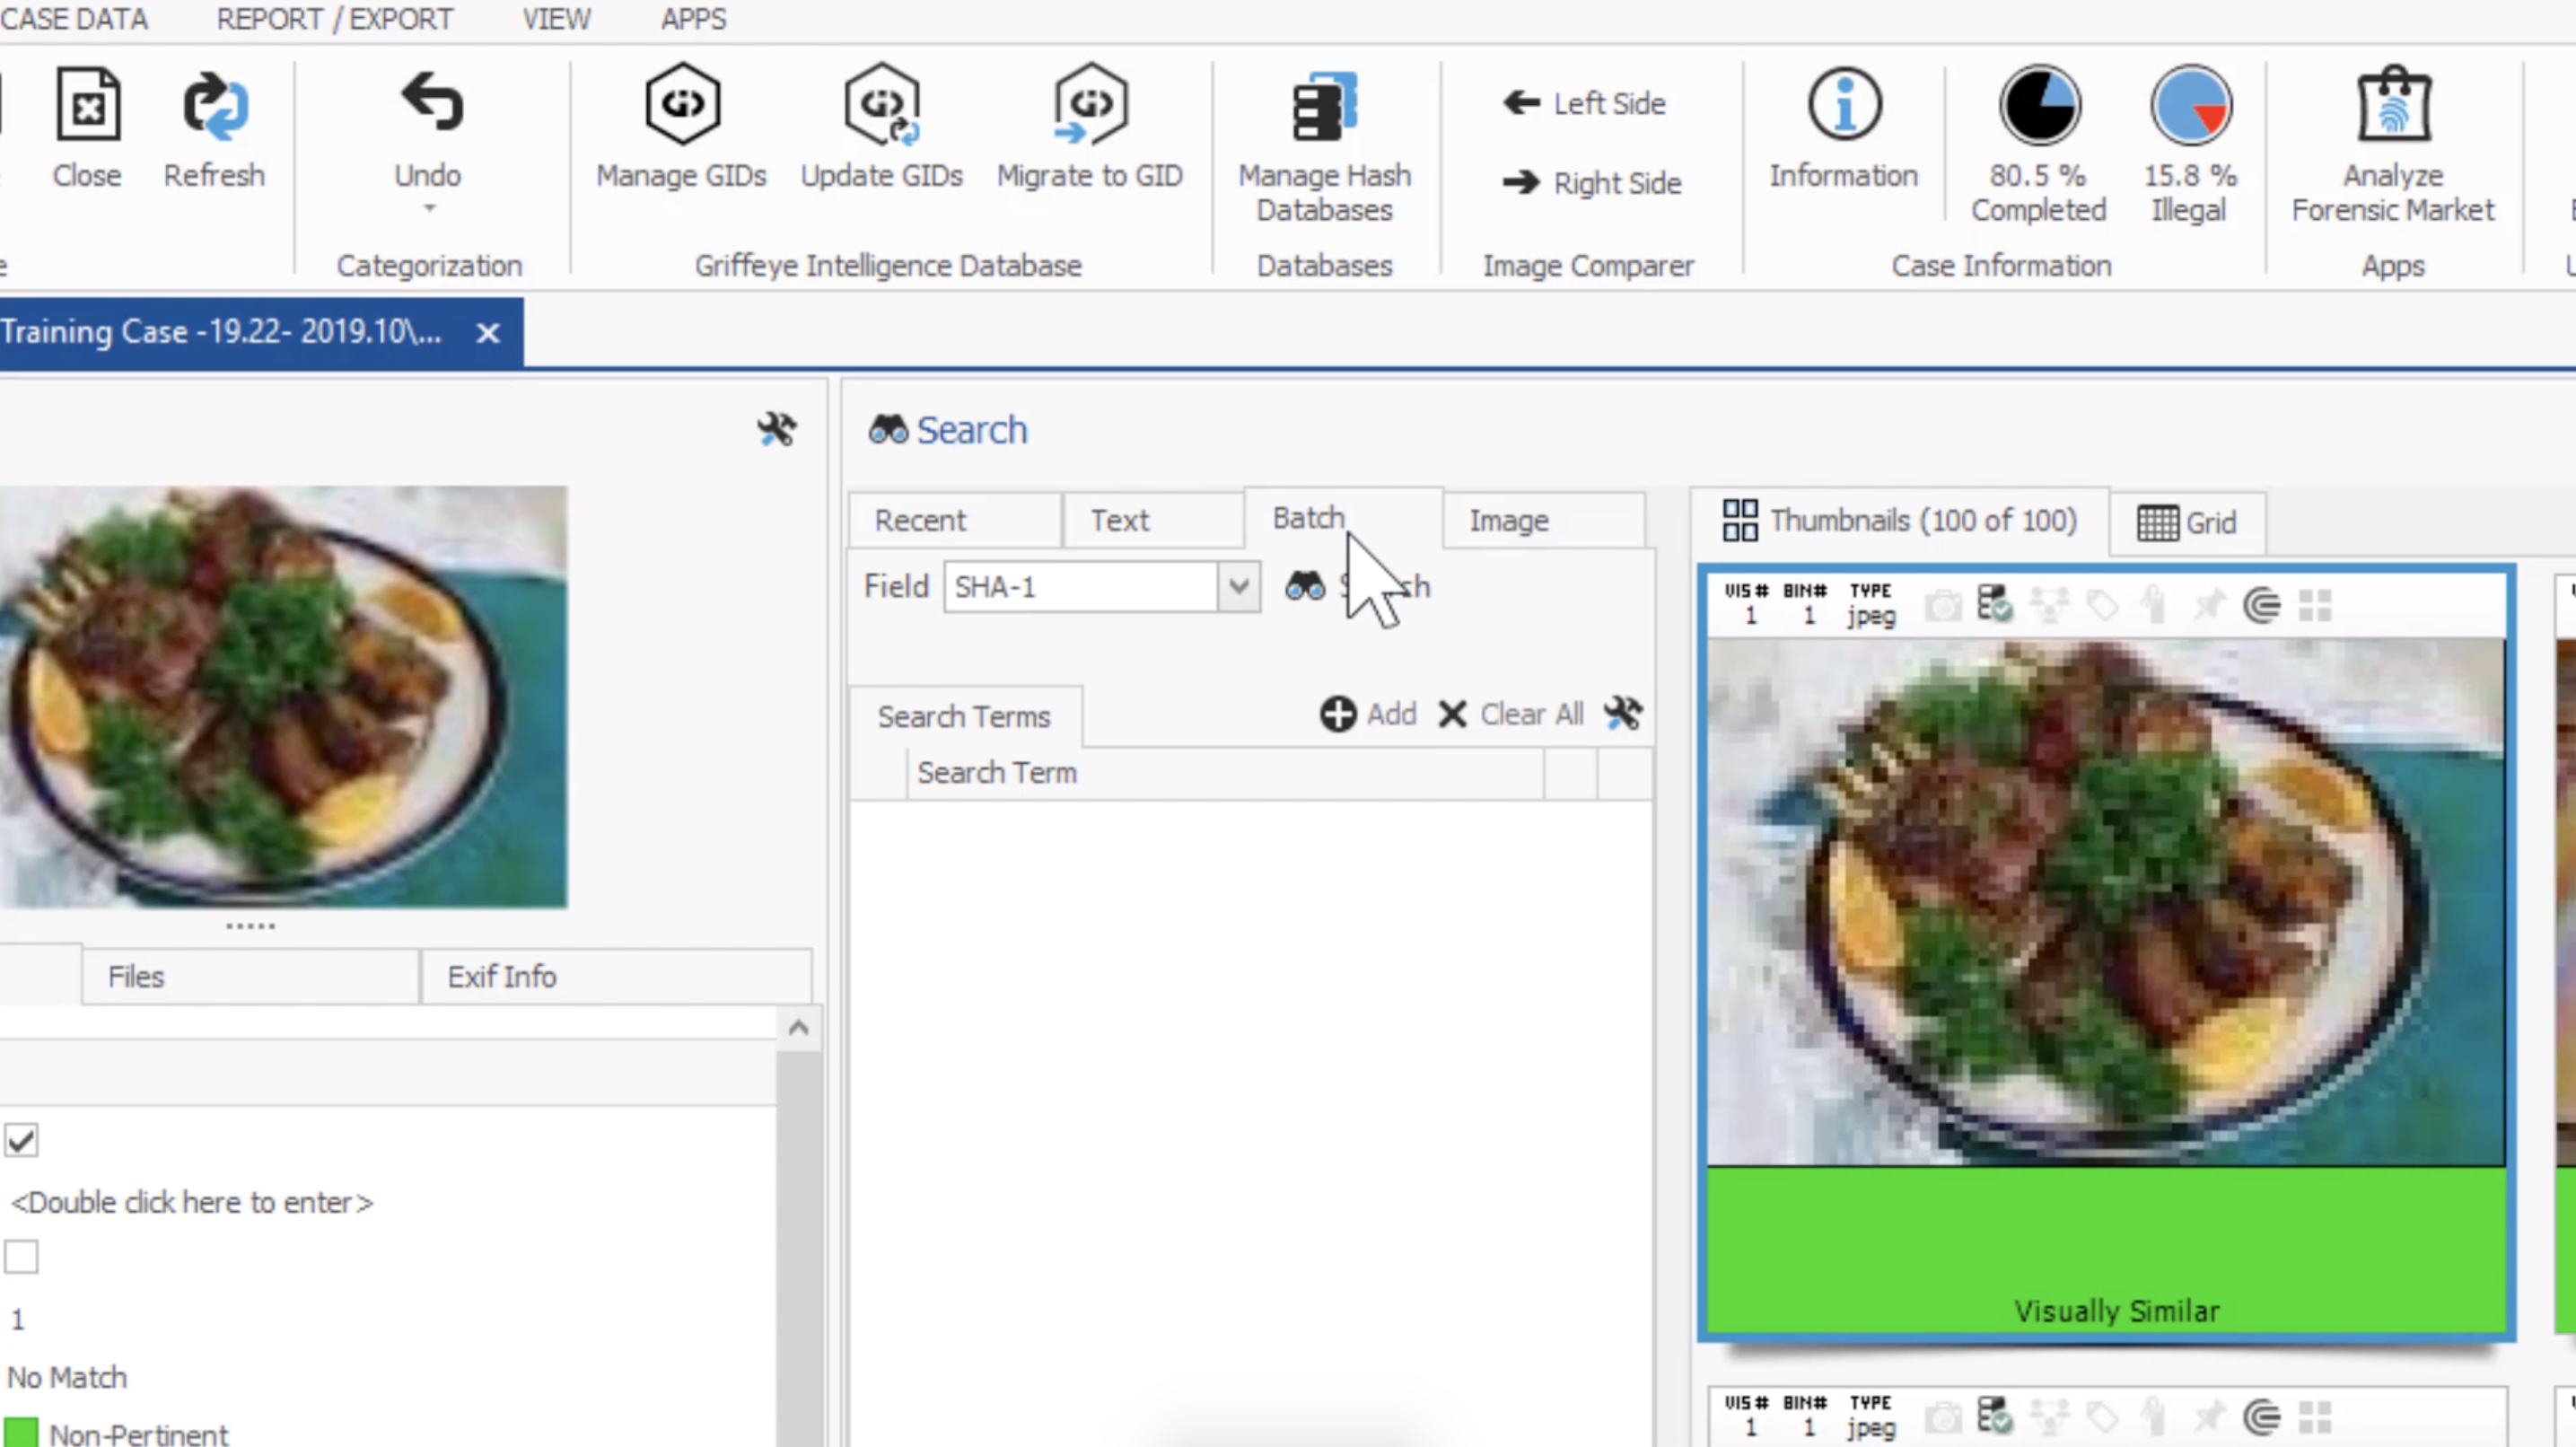
The search view is tabbed based on the type of search you’d like to perform. Text search allows you to search for textual data parsed during case processing. Batch searching allows you to bring any list of textual data to search for across your case, such as hash values. Image searching allows you to bring in external images to search for visually related files.
Most of the common searches can be accessed by right-clicking a file to bring up the context menu. From here we can see the different types of searches we can perform related to the file you’ve selected. We can search for EXIF related files; similar images; similar faces; relationships; and files located in the same folder as the selected file. Note that the keyboard shortcuts for each search type are also listed.
EXIF related searches can be handy when searching for files based on related camera information like serial number, camera model, software version, and create date. Simply right-click and select the EXIF criteria you’d like to search for, and view your results in Search view.
Let’s perform one of the most common types of searches: a visual similarity search.
Similarity searching allows you to search for files that are visually similar in appearance to the selected file, based on colour distribution, contours, textures, and points of interest. To conduct a similarity search, simply select a file and hit Enter.
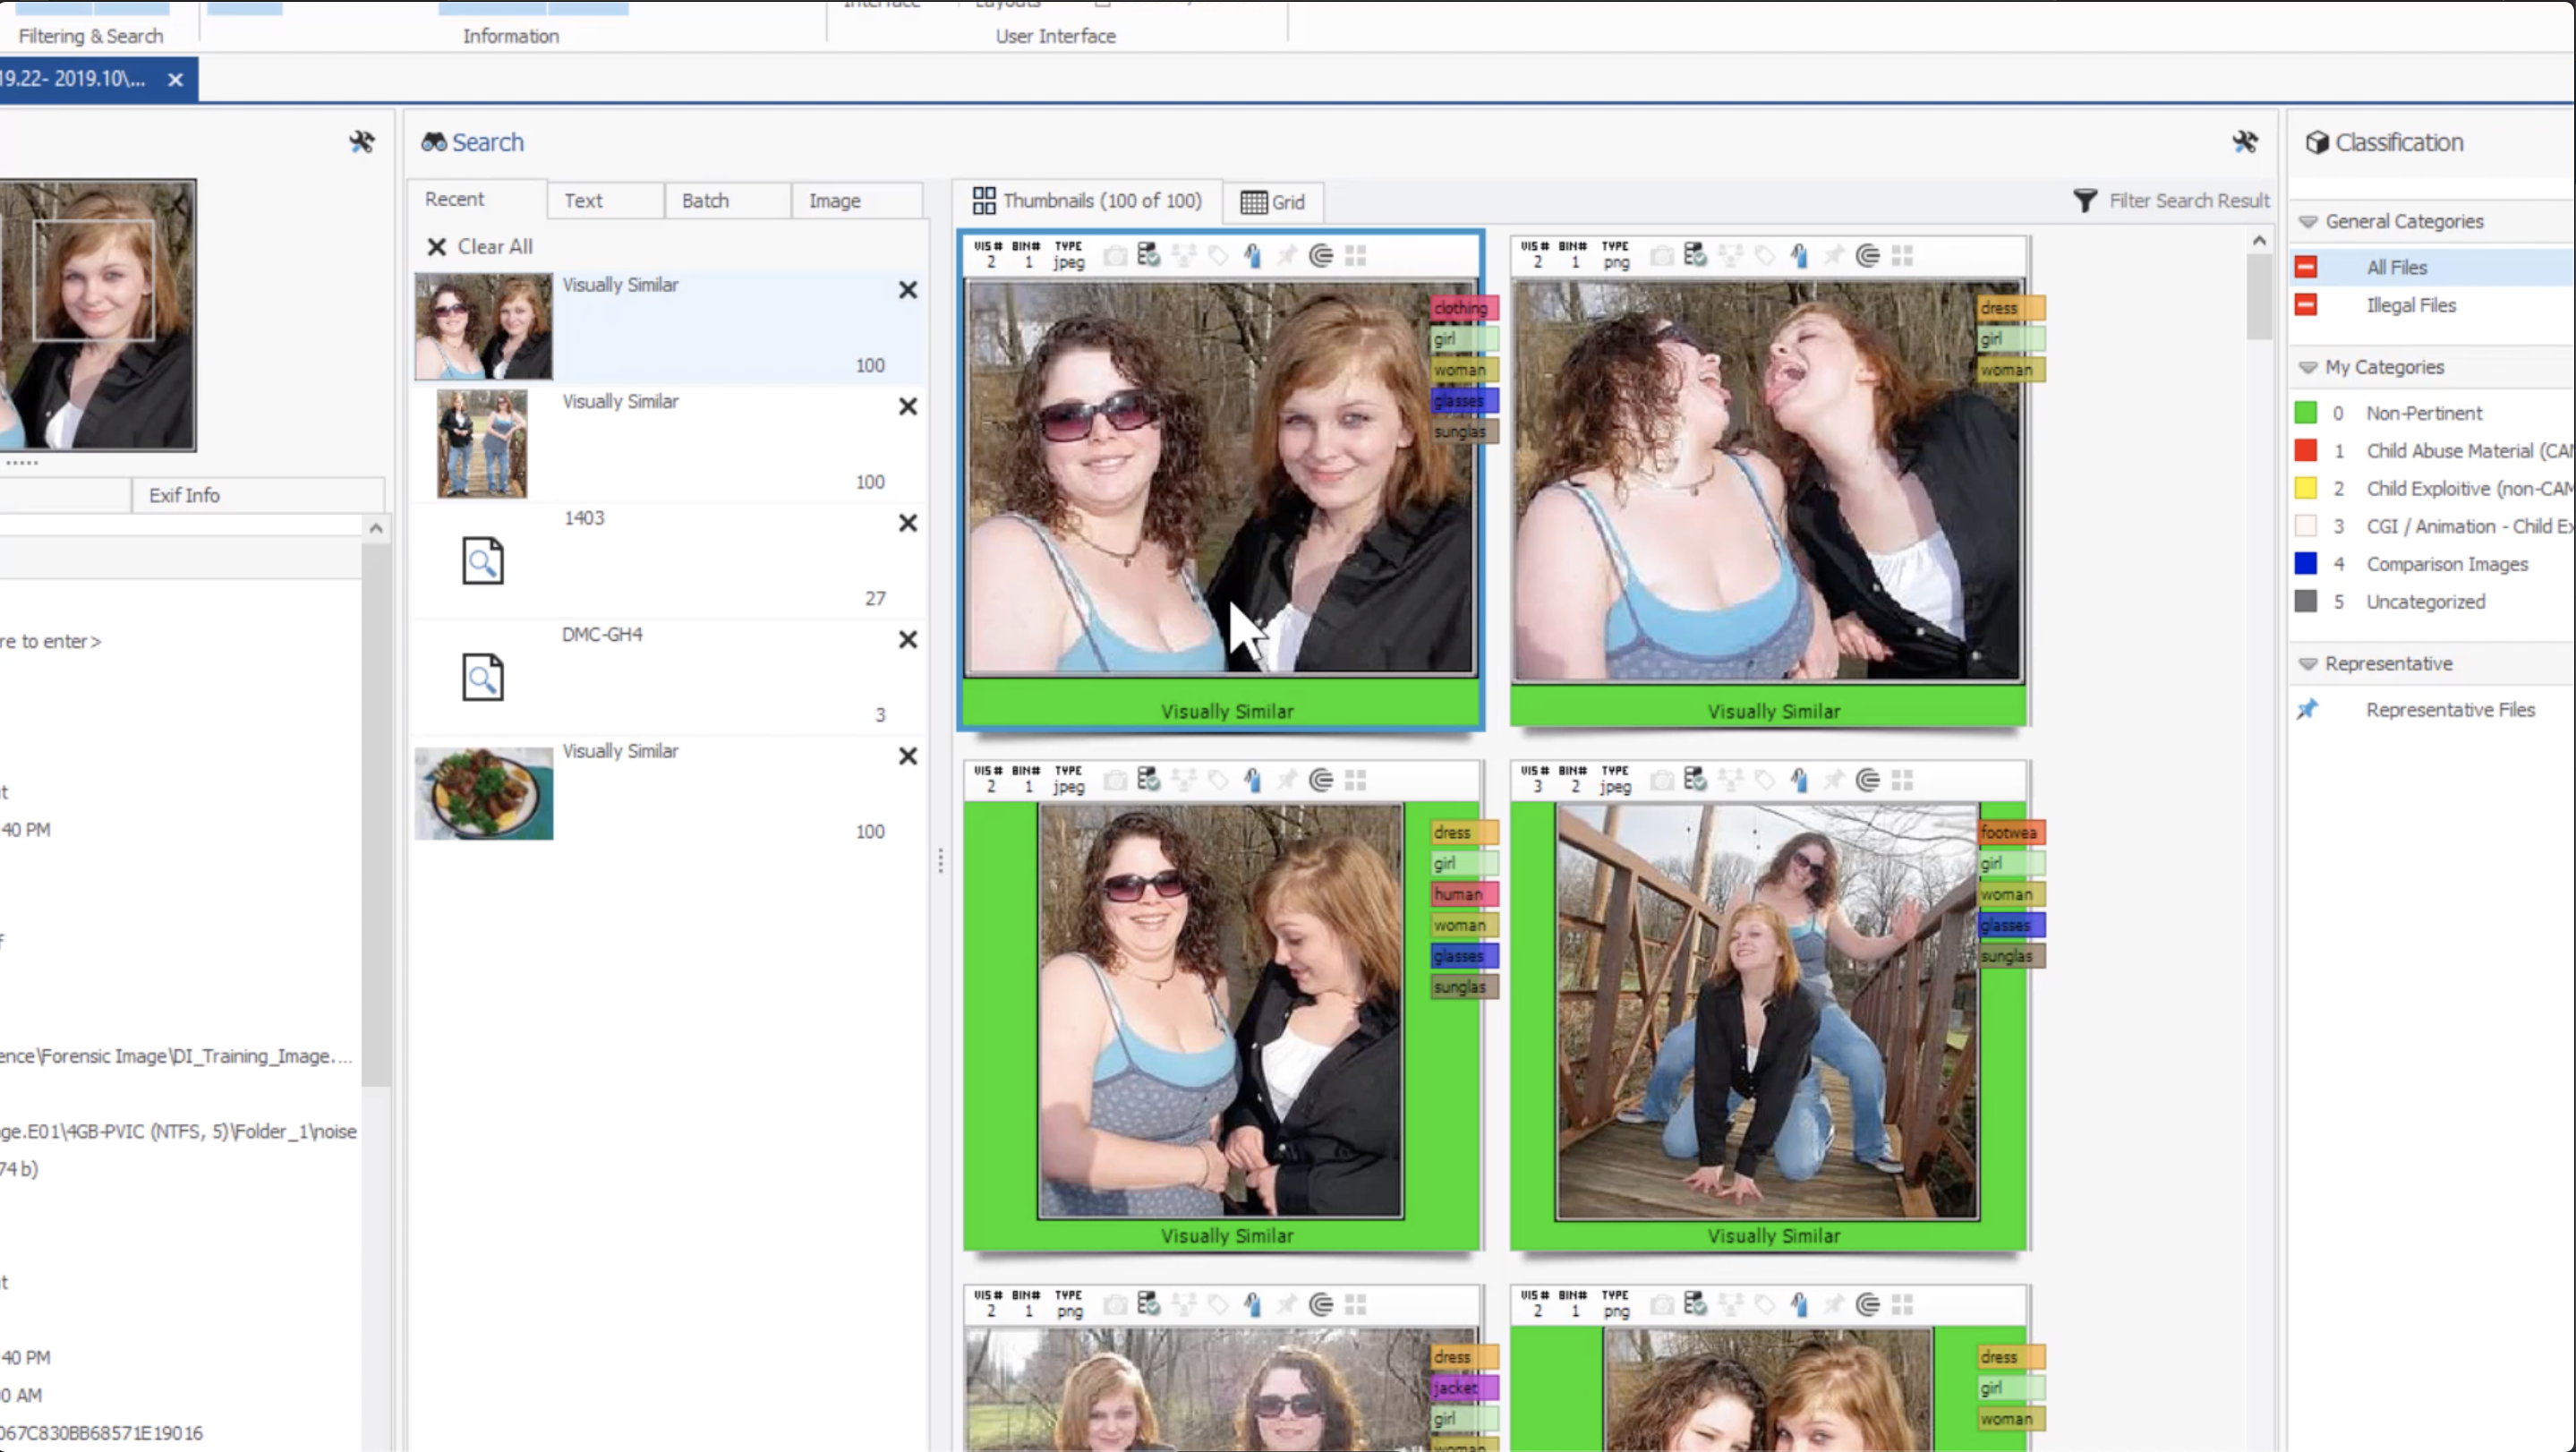
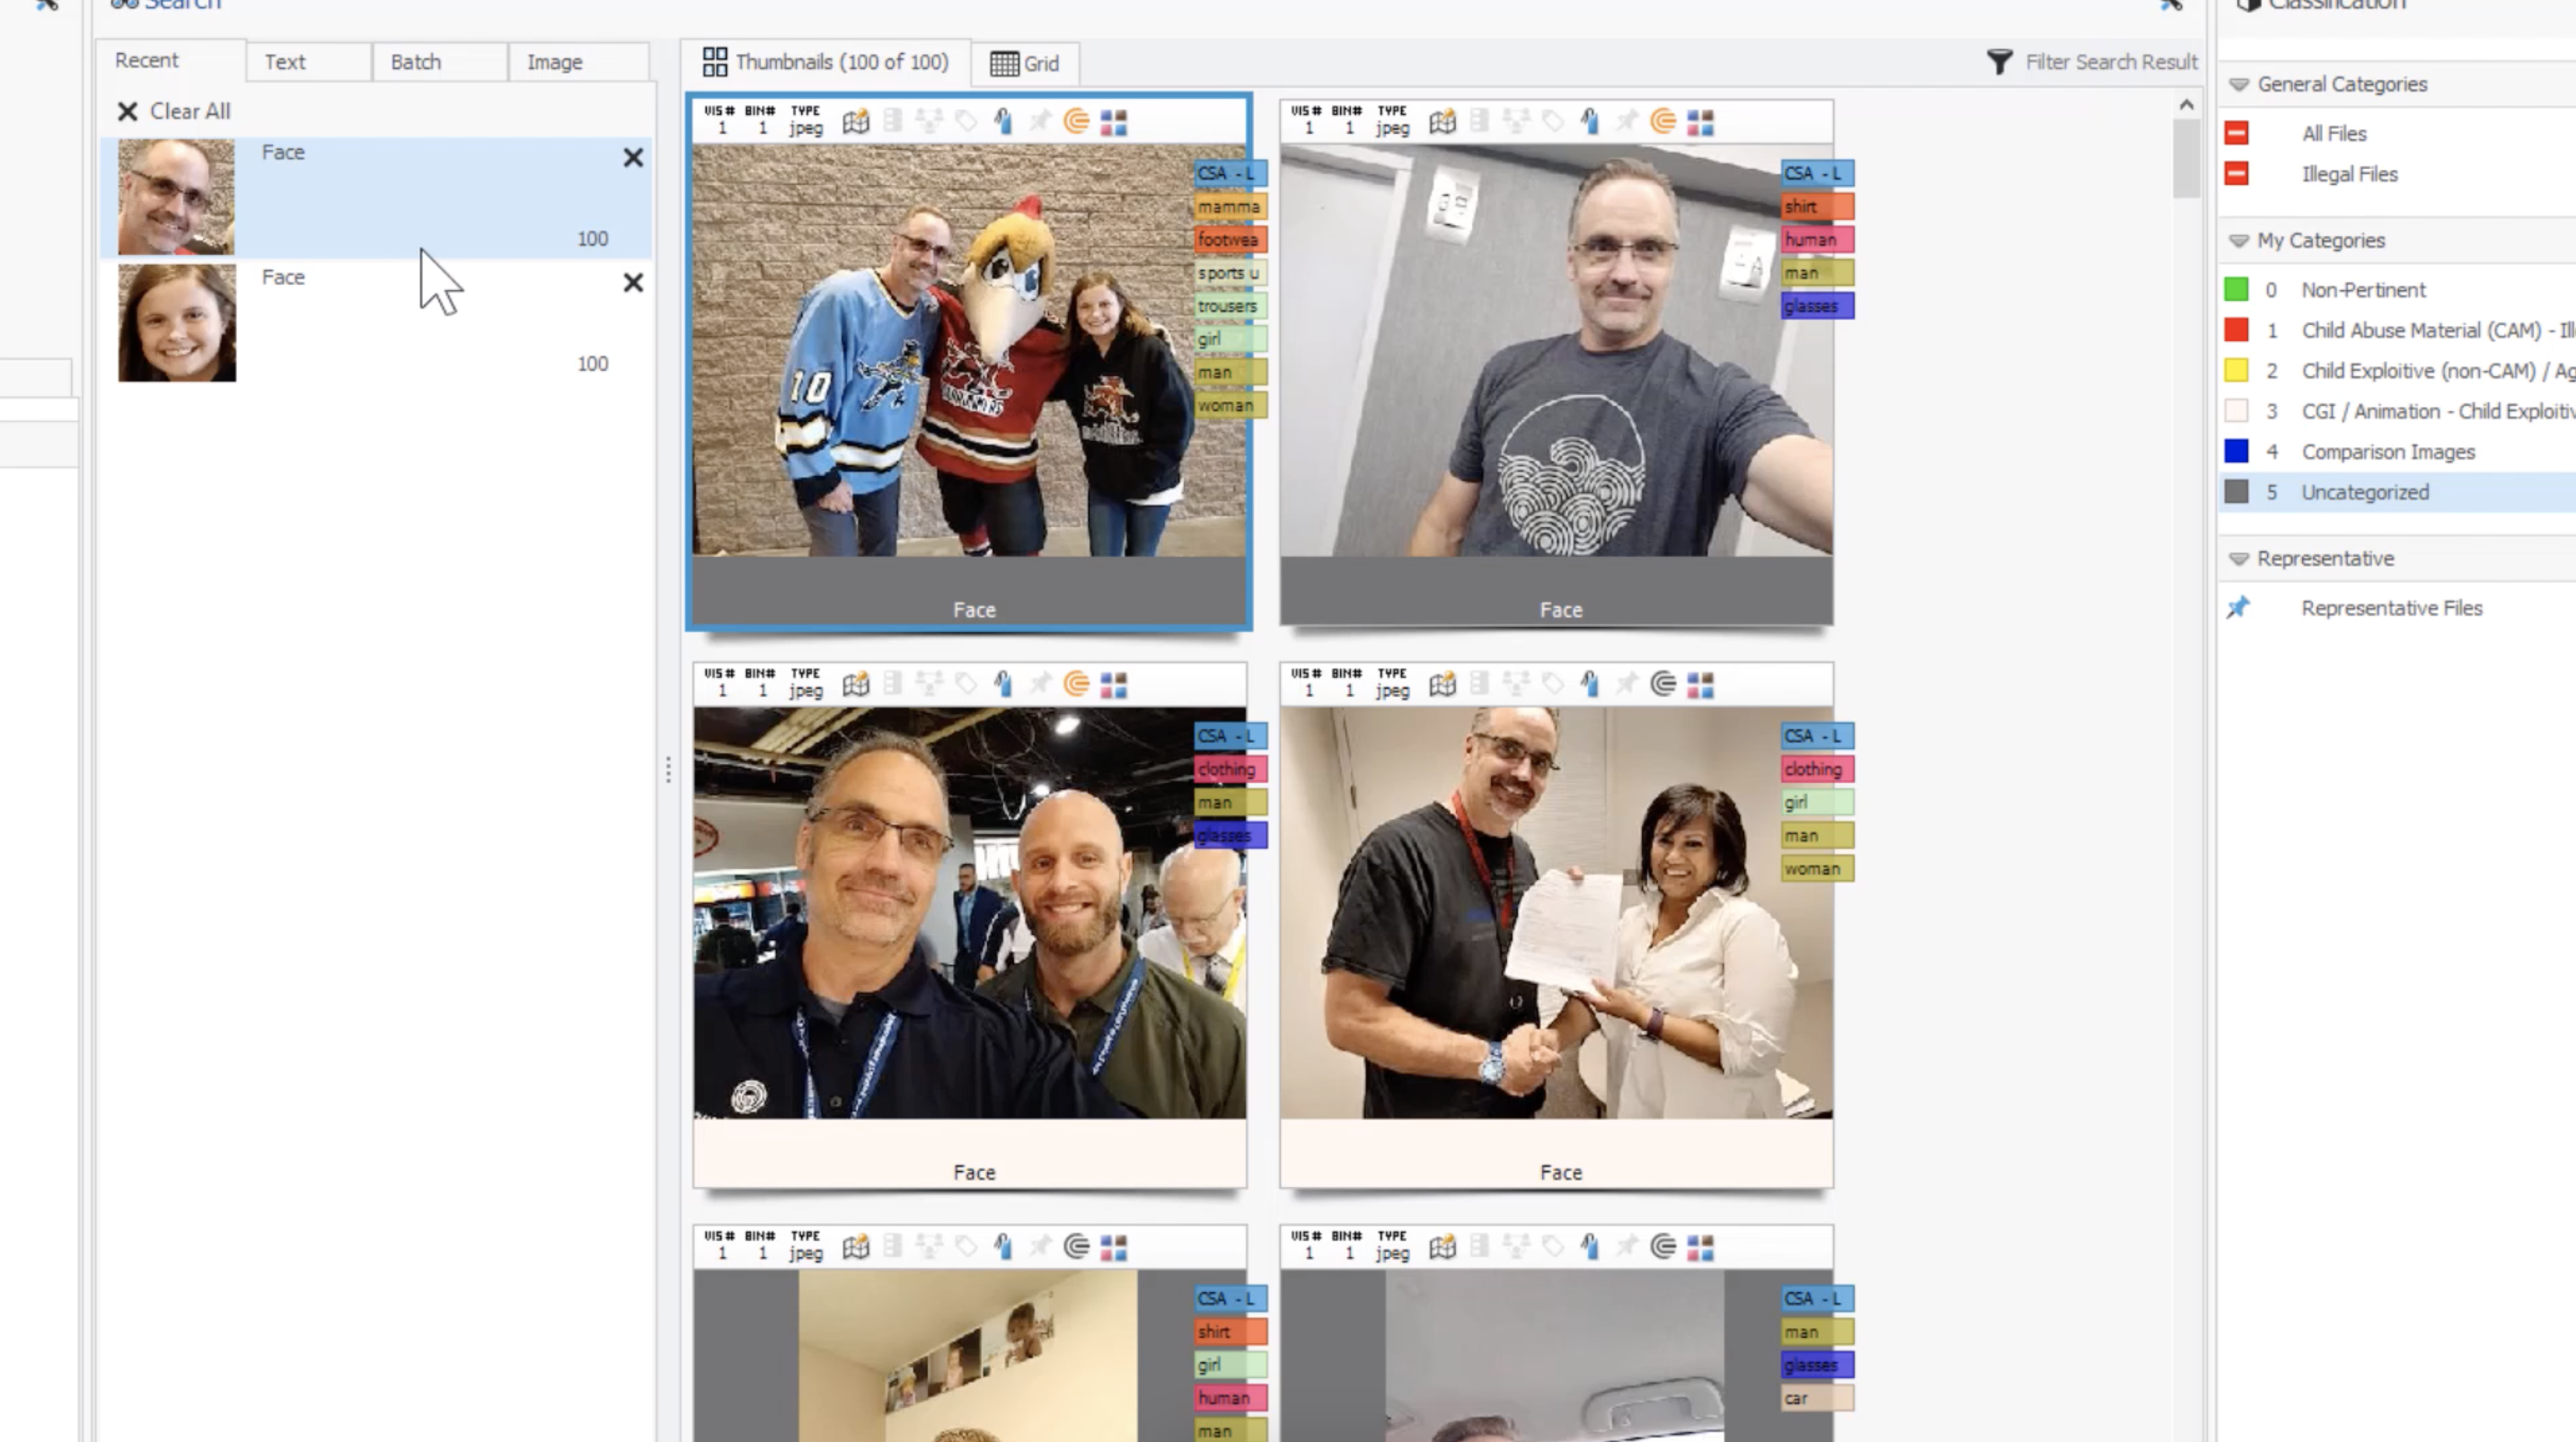
Let’s take a look at our results in the Search view. As you perform searches, results will appear in the Recents tab list and can be viewed individually by selecting them. Similarity searches will return 100 results by default, but this can be adjusted in the Results panel settings button.
Subsequent searches can be also performed from right within your results in the Search view. This can be a very useful tool for locating files with connecting points of interest, but also locating similar non-pertinent files to quickly exclude them.
From the Context menu, we can also search for similar faces. Analyze will search for similar faces to all the faces detected in the image, split into separate results that can be viewed individually.
Relationship searches can also be performed. This search will find all the files related to the selected file, based on the criteria set in the relationship search settings. Simply select or deselect the relationships you’d like to search for. GPS and date ranges can be customised by double-clicking on them and changing the value.
Relationship search results will be returned in order of the strongest relationships first.
Now let’s perform the same searches by using files external to our case. Analyze DI allows you to select an external image that is not part of your case, and search for visually related files within your case.
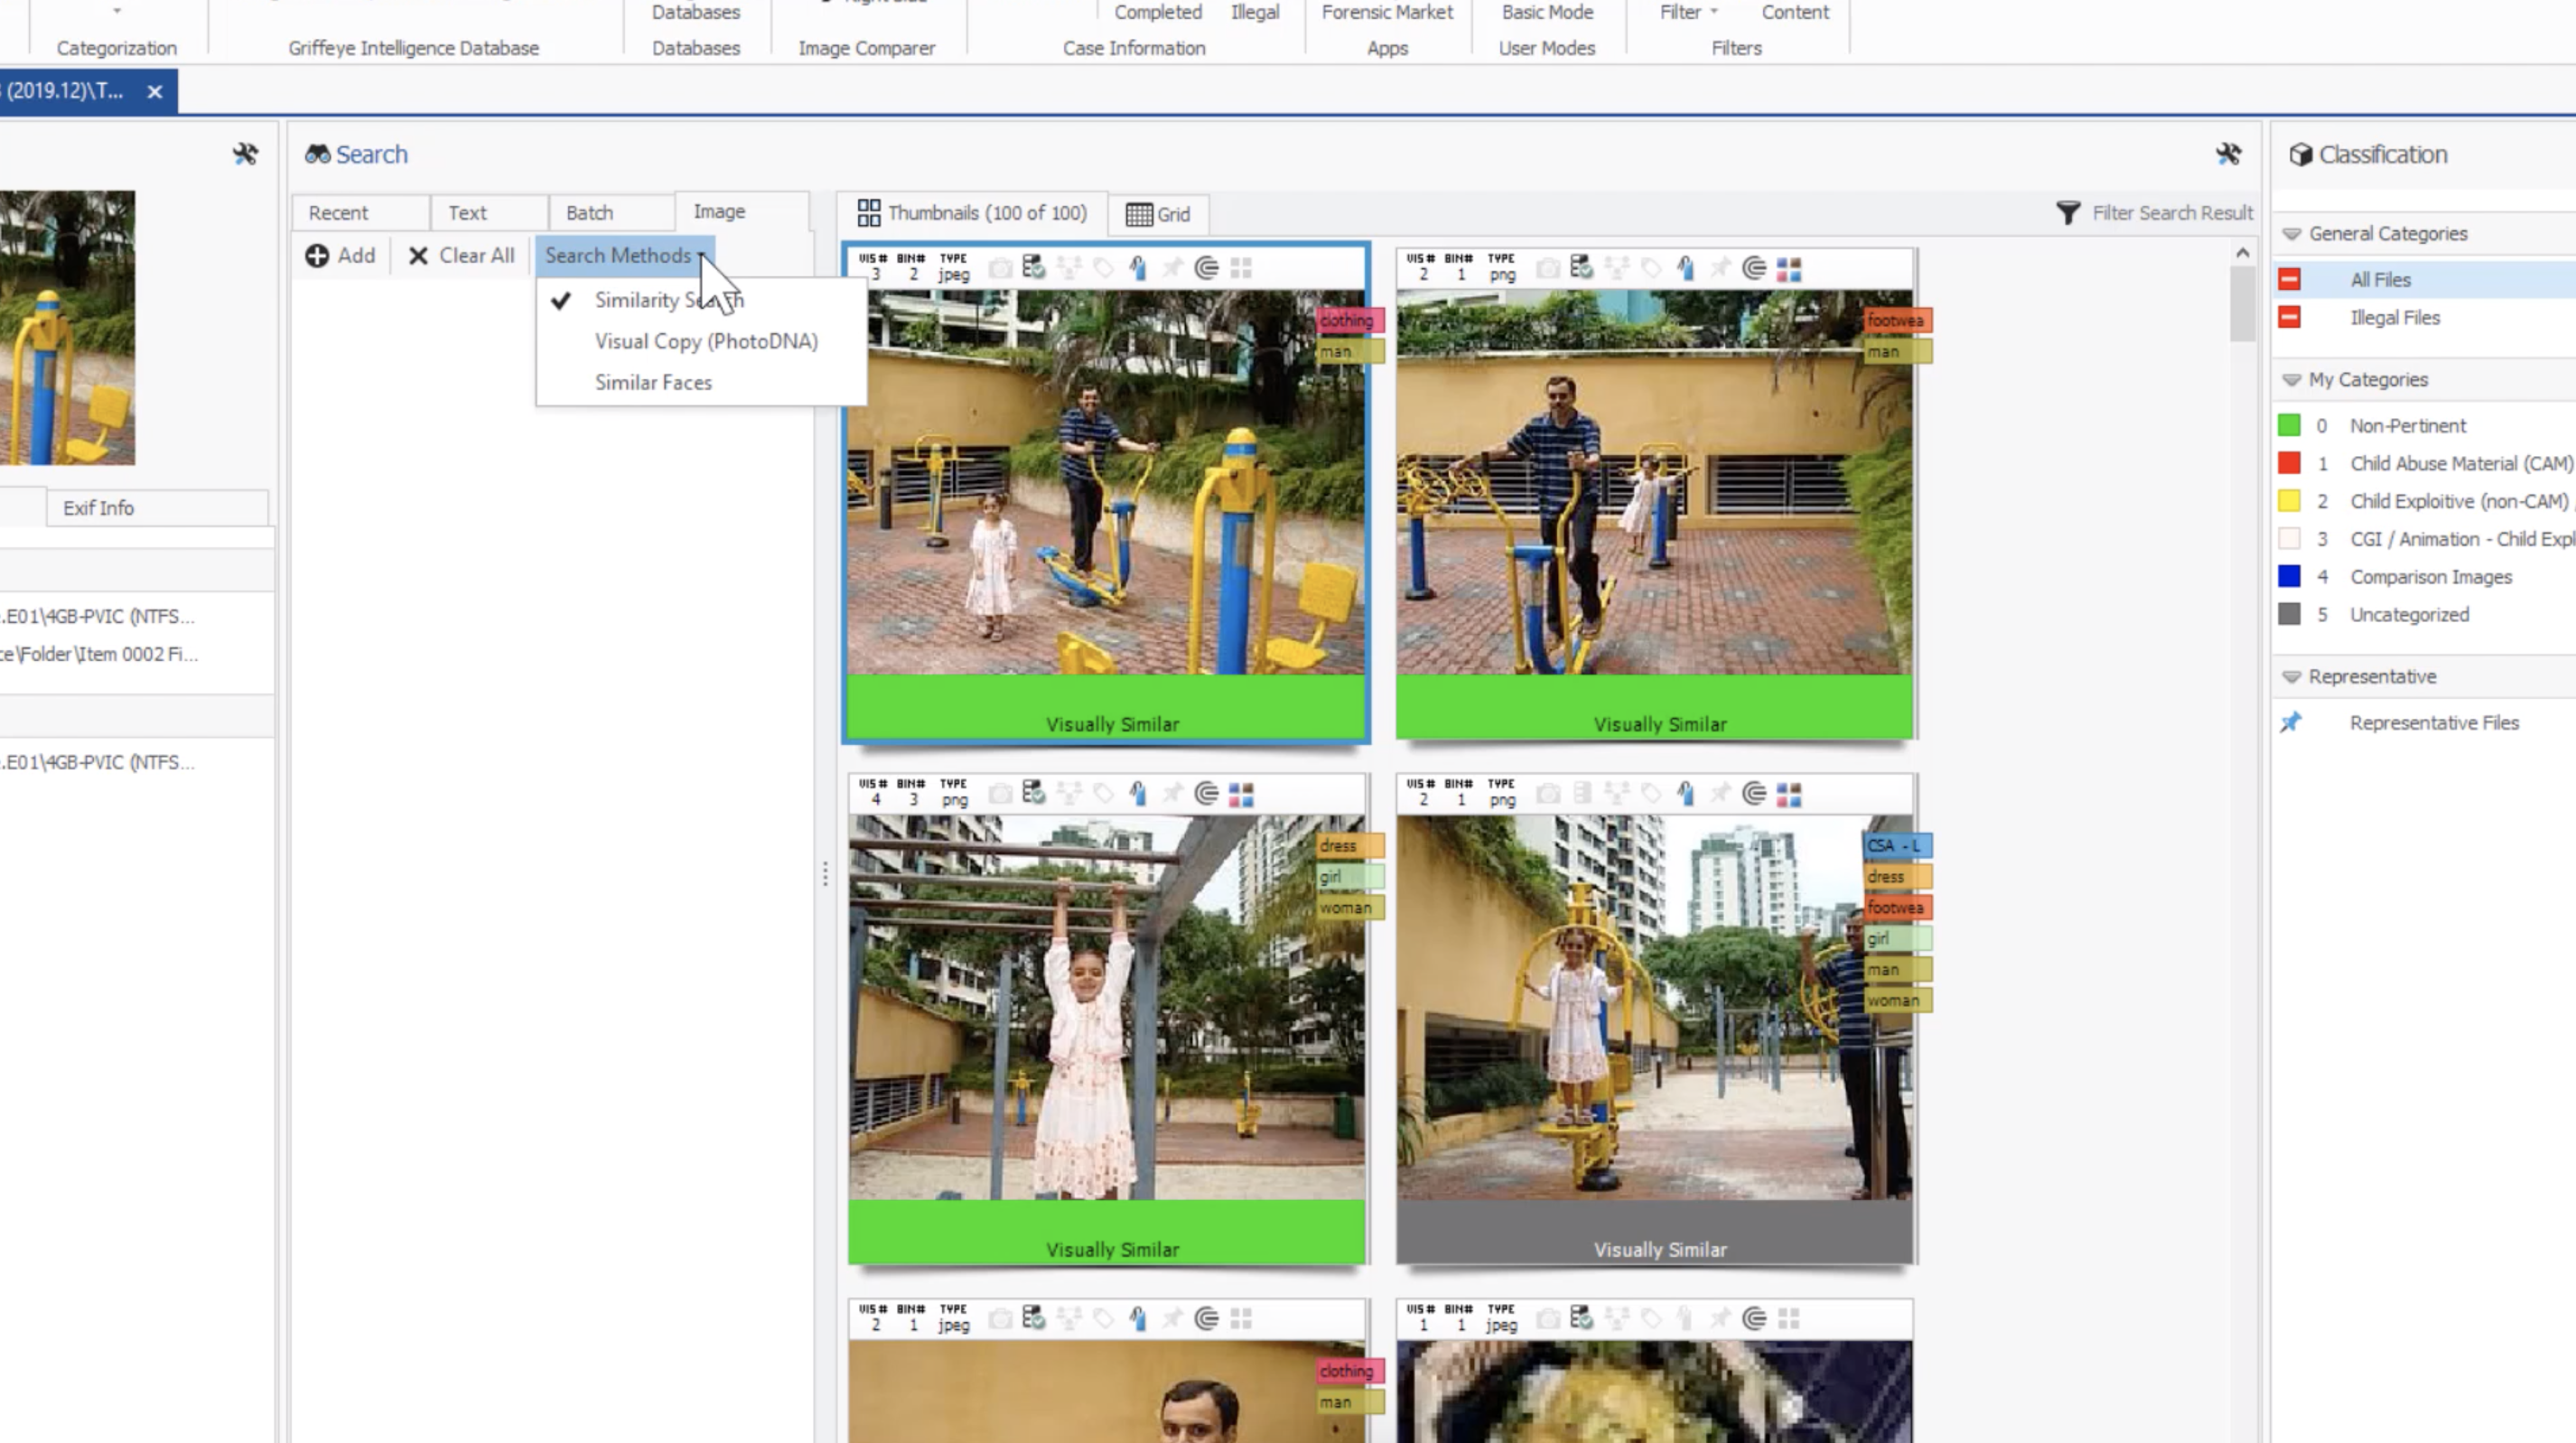
From the Search view, select the Image tab. From here, select the search you’d like to perform: similarity; visual copies; or similar faces. Select the type of search you would like to perform, and then click ‘Add.’ This will prompt you to select the file you would like to perform the visual search against.
First, I’ll perform a similar image search by selecting this red bus.

Now I’ll select a search method for similar faces to match a possible victim’s face.
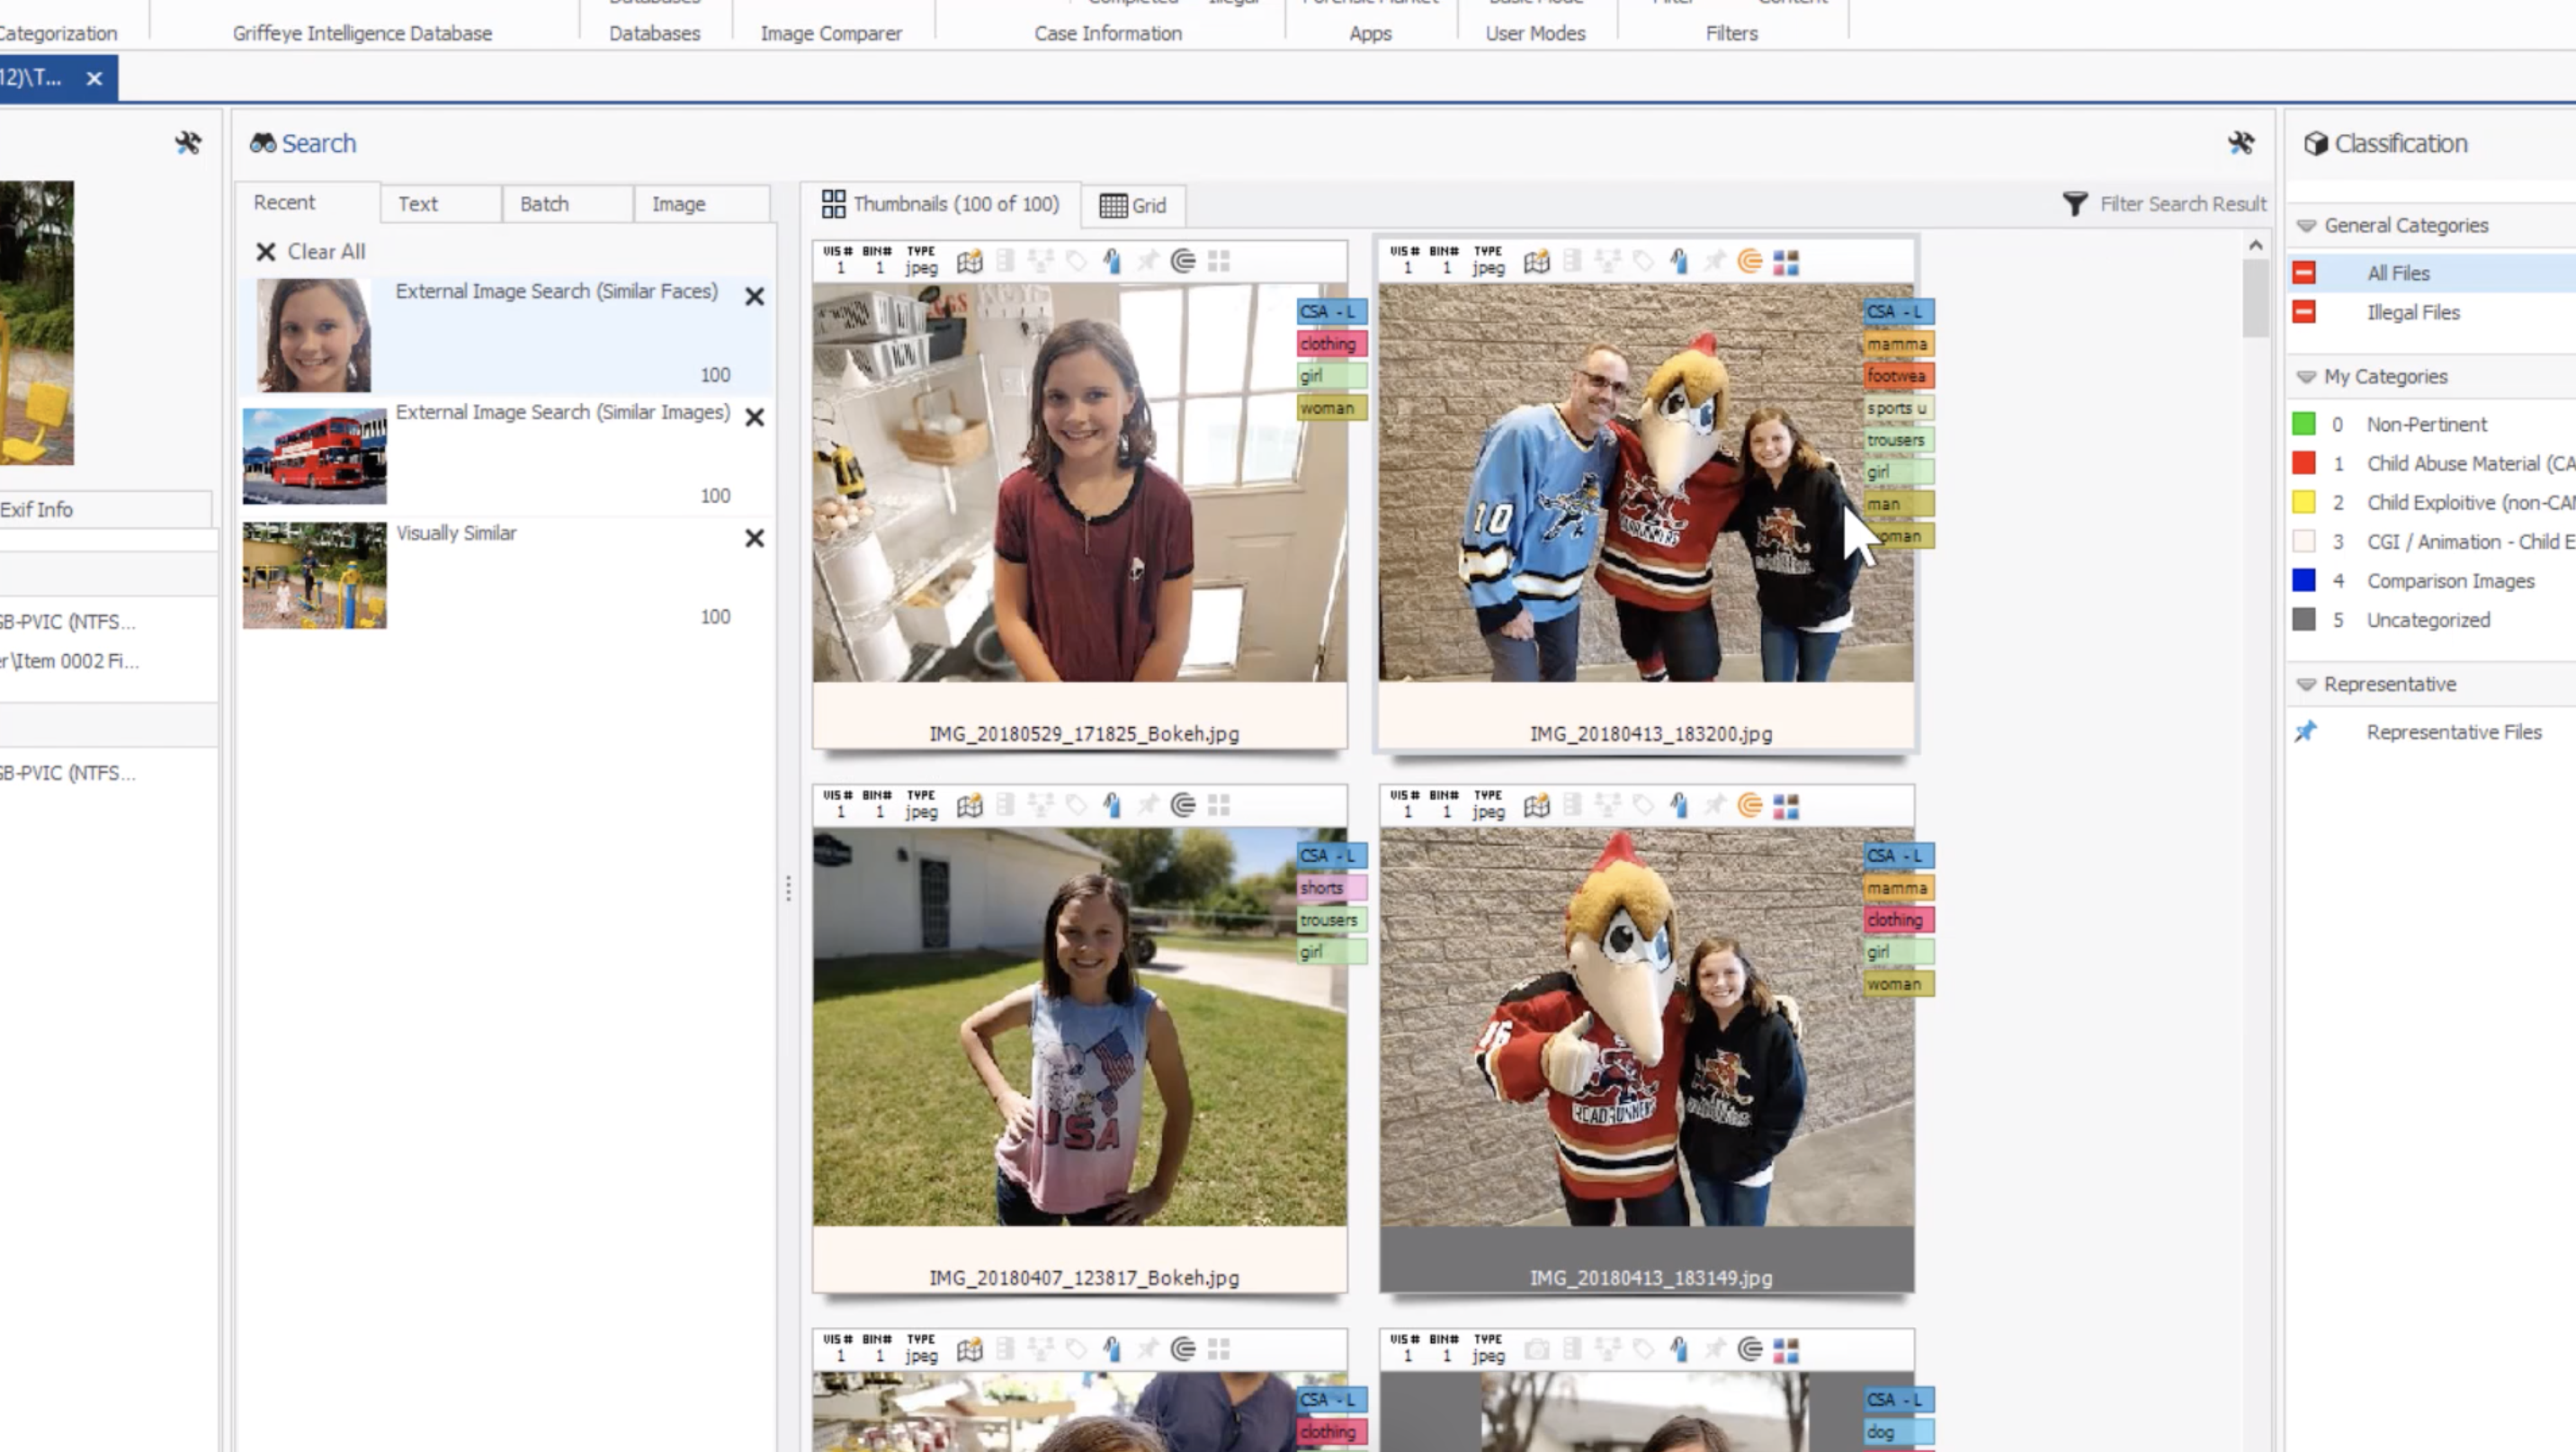
See how Analyze quickly locates all of the similar faces in your case?
Thanks for watching. If you have any comments or questions, hit us up in the forums or shoot us an email to [email protected].