I’m now going to walk you through the steps to perform a targeted file collection. Performing targeted file collections is a critical function of ediscovery and investigative matters.
In step one, we establish the collection: case information, as well as scheduling.
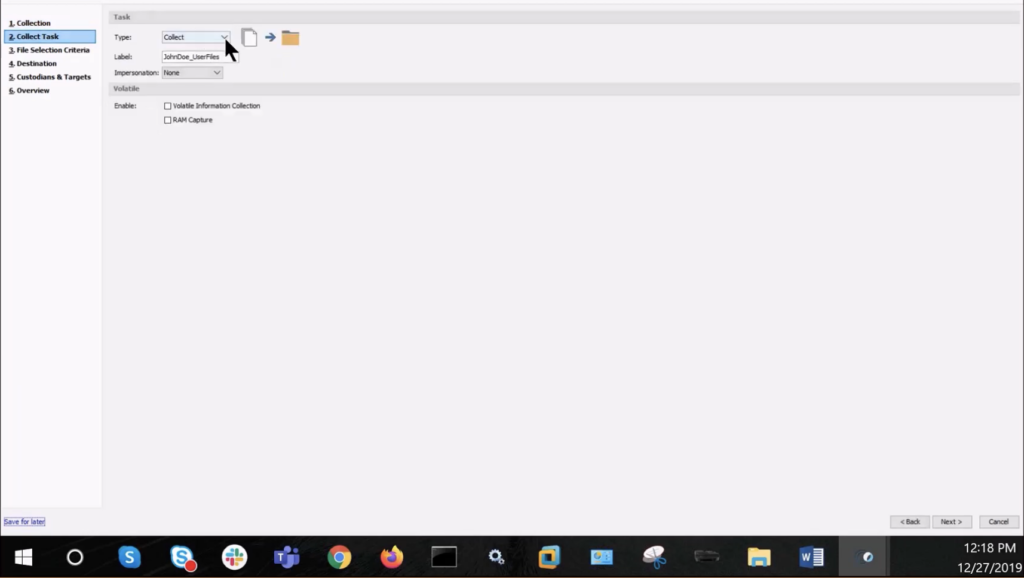
In step two, collection task, we elect to do a collection; provide a relevant, meaningful name for the collection; as well as whether we want to collect volatile information.
Step three: the important piece. Selecting the file collection criteria. You’ll see here from the drop-down menu, there are a lot of different saved options. These are completely customisable, with some pre-canned items out of the box intended to provide templates of specific file groupings relevant to the discovery matter, such as user-created data.
Note the associations, and that you have the ability to further edit these criteria by simply selecting ‘edit.’

- File types: what are we including or excluding?
- Date ranges: are there any applicable date ranges?
- Content: is there a need to scan the [indecipherable] for specific files identified by their unique MD5 hash value?
- Deleted files: should we include them or exclude them? As well as an option to perform advanced keyword searches, which is demonstrated later.
- Destination: where are we storing this data, and in what format? FileSafe container, or another file format? As well as being able to select the level of compression; segment size; and whether to validate the collection.
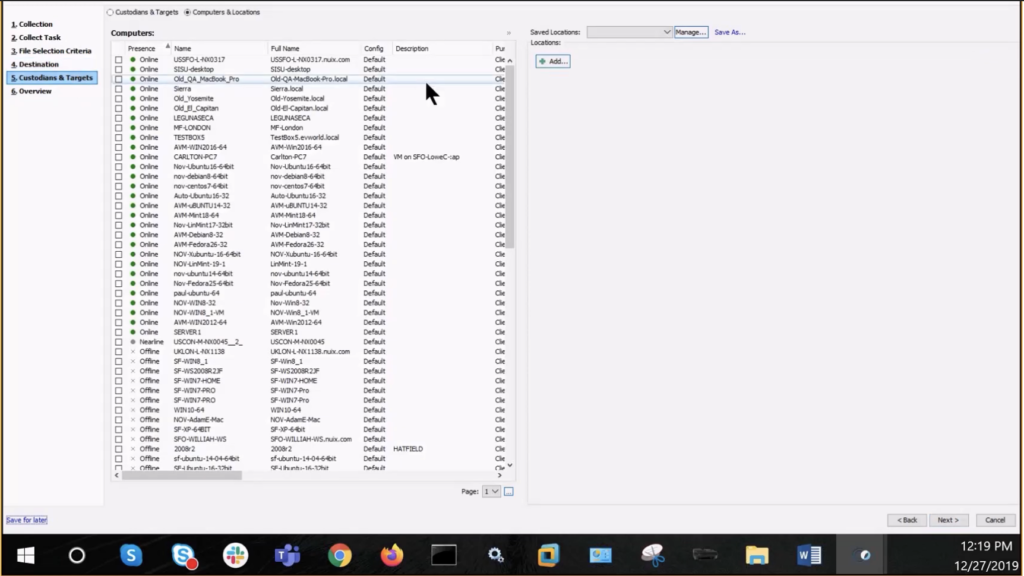
Custodians and targets: you will again select the collection computer, and select ‘next,’ which will result in the job XML file available for review, as well as saving for future collections, and finally clicking ‘finish’ to initiate the collection.


